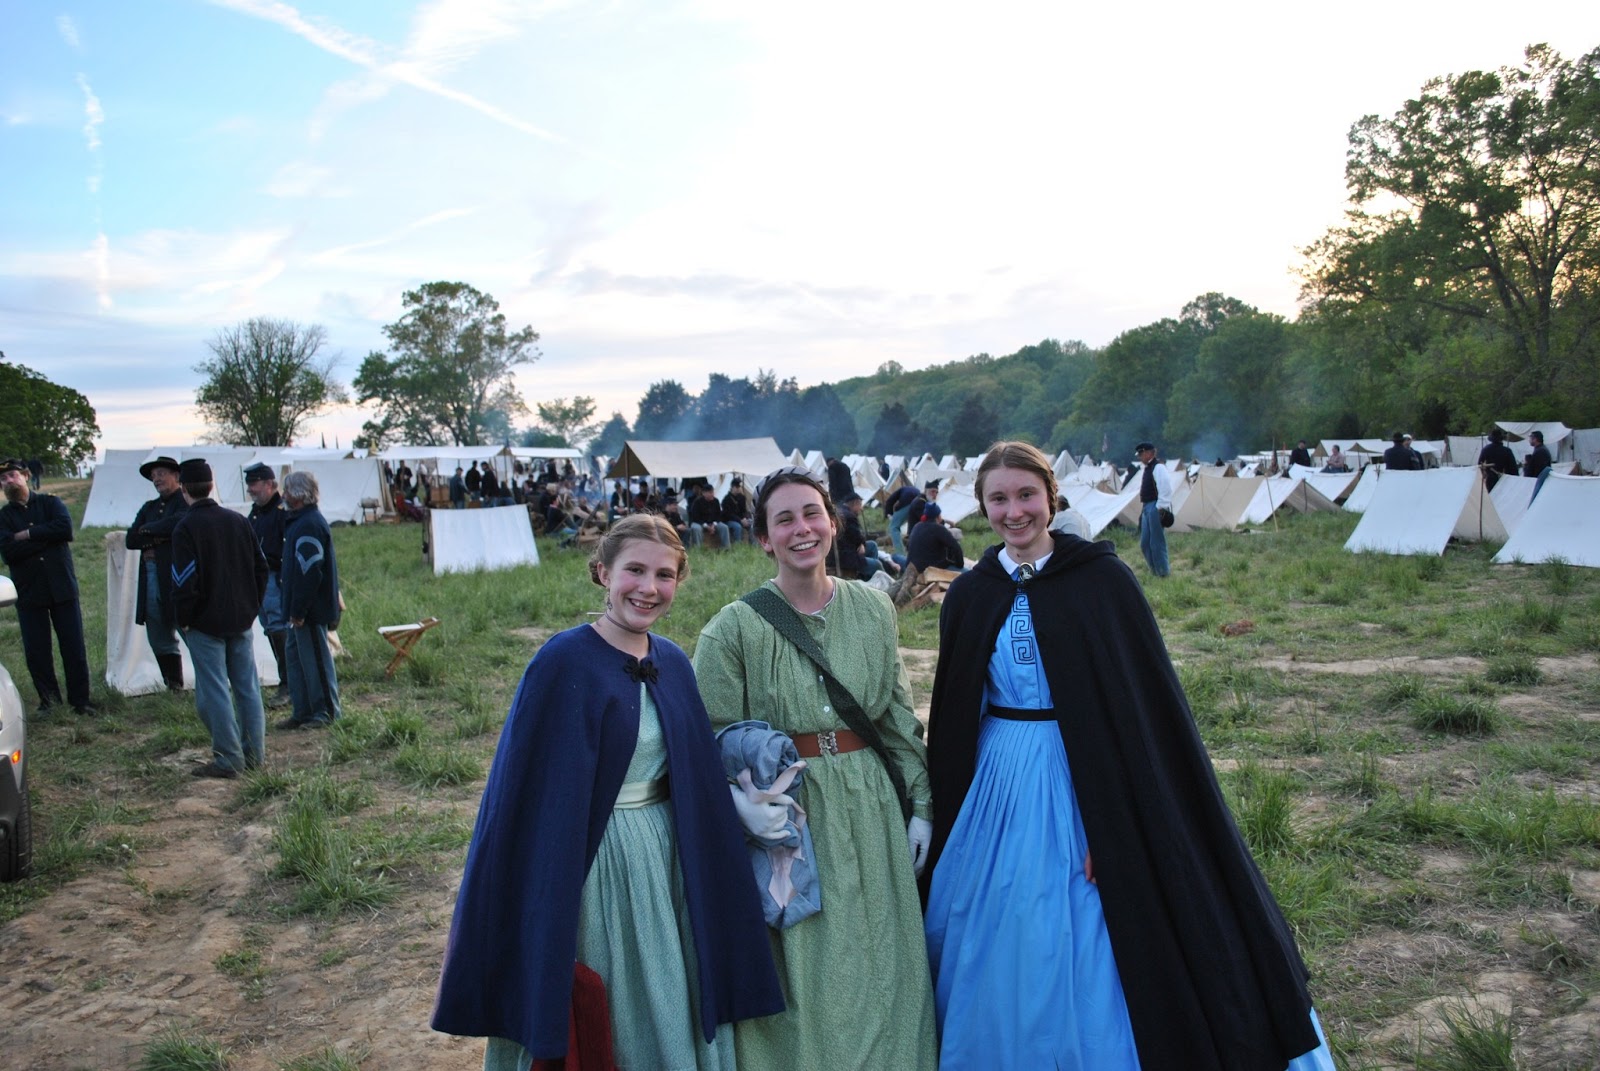

It only took me 1 1/2 years to sew and 1 1/2 years to blog about, but here is my quilted wool petticoat! In 2013 I met a lovely lady named Judy at the Genesee Country Village Civil War reenactment. During a rainstorm I ducked into George Eastman’s (the founder of Kodak) boyhood home where Judy was demonstrating hand quilting. She kindly offered me both shelter and a lesson in her craft! I had a most enjoyable time and decided to start my own quilting project after the reenactment.
I determined on making a quilted petticoat because: 1.) I already had the wool flannel fabric I needed, 2.) I always get cold at events, and 3.) A petticoat is hidden under your skirts so no one would see my beginner stitches 😀 I was inspired by the quilting design on this original silk quilted petticoat from thegracefullady.com:

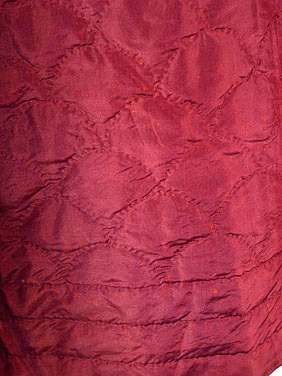
I decided on 3 horizontal quilting lines at the bottom of the petticoat, a chunk of shell design, 3 more horizontal lines, then the diagonal lines. The main body on my petticoat is three layers: red wool flannel from fabricmartfabrics.com, wool batting, and a cotton sateen lining. I almost wish I had used polished cotton and silk taffeta. It would have been more expensive, but for the amount of work that went into the petticoat it would have been worth it.
I couldn’t really tell from the photos how high the diagonal quilting lines went on the original petticoat, but I had decided to make my petti with a cotton yoke (to reduce bulk) so I made the lines extend all the way up the main body. The wool batting only goes up 2/3 of the body and is a sheet of batting peeled apart to make a thinner layer (I think separated once, and then separated once again to make the batting 1/4 of its original thickness). The yoke is a straight yoke, meaning it is the same circumference as the body of the petticoat (90″).
Before I could begin quilting I partially assembled the petticoat. I sewed 1.5 panels of the 60″ wide red wool flannel together to make a tube 90″ in circumference. I then sewed the cotton sateen on the bottom edge of the petticoat, right sides together, lapping the edges and sewing the last side seam when I reached the end (just like sewing on a faced hem). I laid the red flannel on my ironing board, right side down, and spread my thin layer of batting over it. Then I smoothed up the sateen lining on the wrong side, sandwiching the batting between the two layers of fabric. Using large, sloppy stitches I basted all over the petticoat to hold the three layers in place while I quilted.
To mark the quilting design I used an air and water dissolving marking pencil. I cut the shell pattern out of a sheet of plastic quilting template and just used a ruler for the horizontal and diagonal lines. Since my pencil lines would dissolve after being exposed to the air for awhile I only marked out the section of quilting as I was working on it. I used a large embroidery hoop to hold the petticoat as I was quilting. I chose to go with a contrasting colored thread and used black hand quilting cotton thread that I lightly waxed with bee’s wax. I found a thimble most indispensable!
Since this was my first hand quilted project you can actually see the progression of how my stitches got smaller and neater as I went on.


After the quilting was finally done, I attached the straight yoke, hand gathered the waist, attached and hand finished the waistband, and put in a buttonhole and china button.
I might still add some wool hem tape to protect the bottom edge and also reset the waistband since I made it (as usual) too large. Overall though I’m quite pleased with the finished results! The wool does a beautiful job insulating and blocking the wind, but since it’s a natural fiber the petticoat is still comfort to wear up to the mid 60s. The three layers and the quilting give the petticoat a nice fullness and when worn under a dress your skirts have that lovely “boof” of the period. Thank you again to Judy for teaching me this practical and beautiful skill!

Fabric: wool flannel, wool batting, cotton sateen, pima cotton
Notions: black cotton quilting thread, 1 china button
Pattern: drafted my own
Year: 1840s-1860s
Notions: white cotton thread, black cotton quilting thread, white china button
How historically accurate is it?: The petticoat is constructed using period techniques and the quilting design is taken from an original petticoat. It might have been a tiny bit more accurate to use polished cotton instead of cotton sateen, but I’m satisfied with the authenticity.
Hours to complete: I did the quilting over a period of 1 1/2 years so I have no idea. It’s probably in the 150-200 hour range.
Total cost: about $50
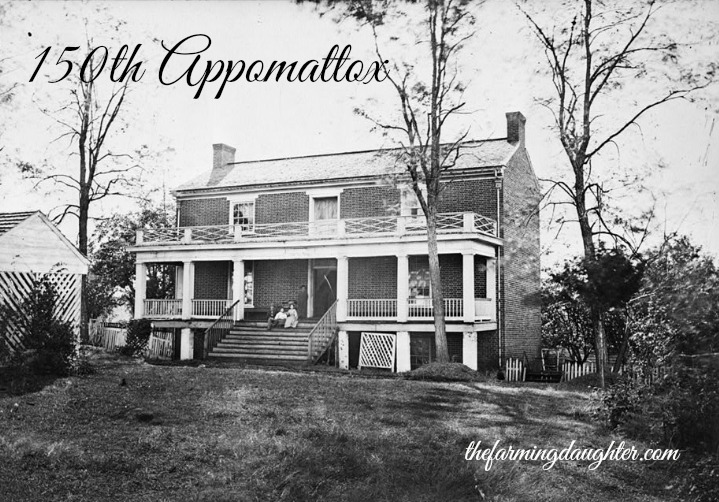
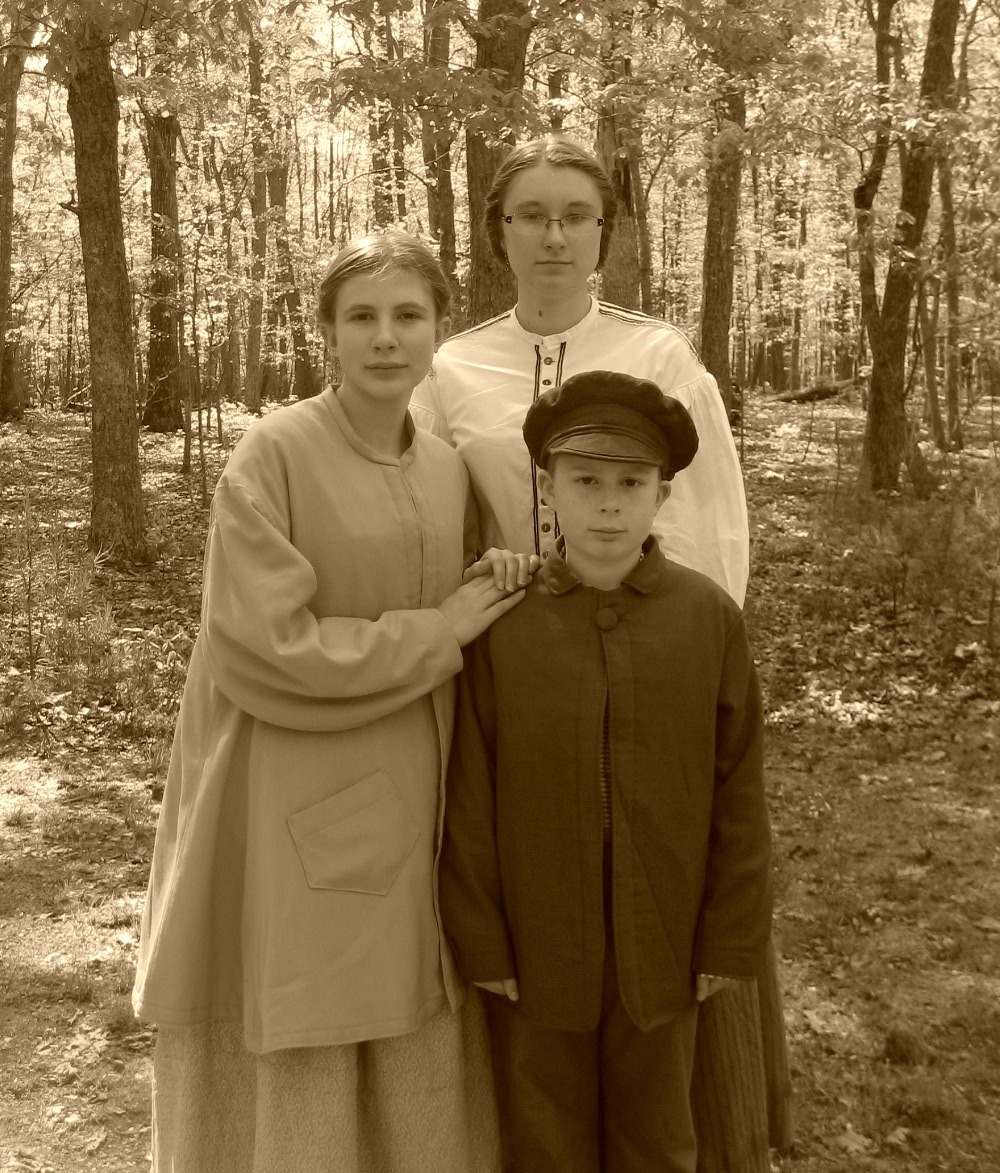
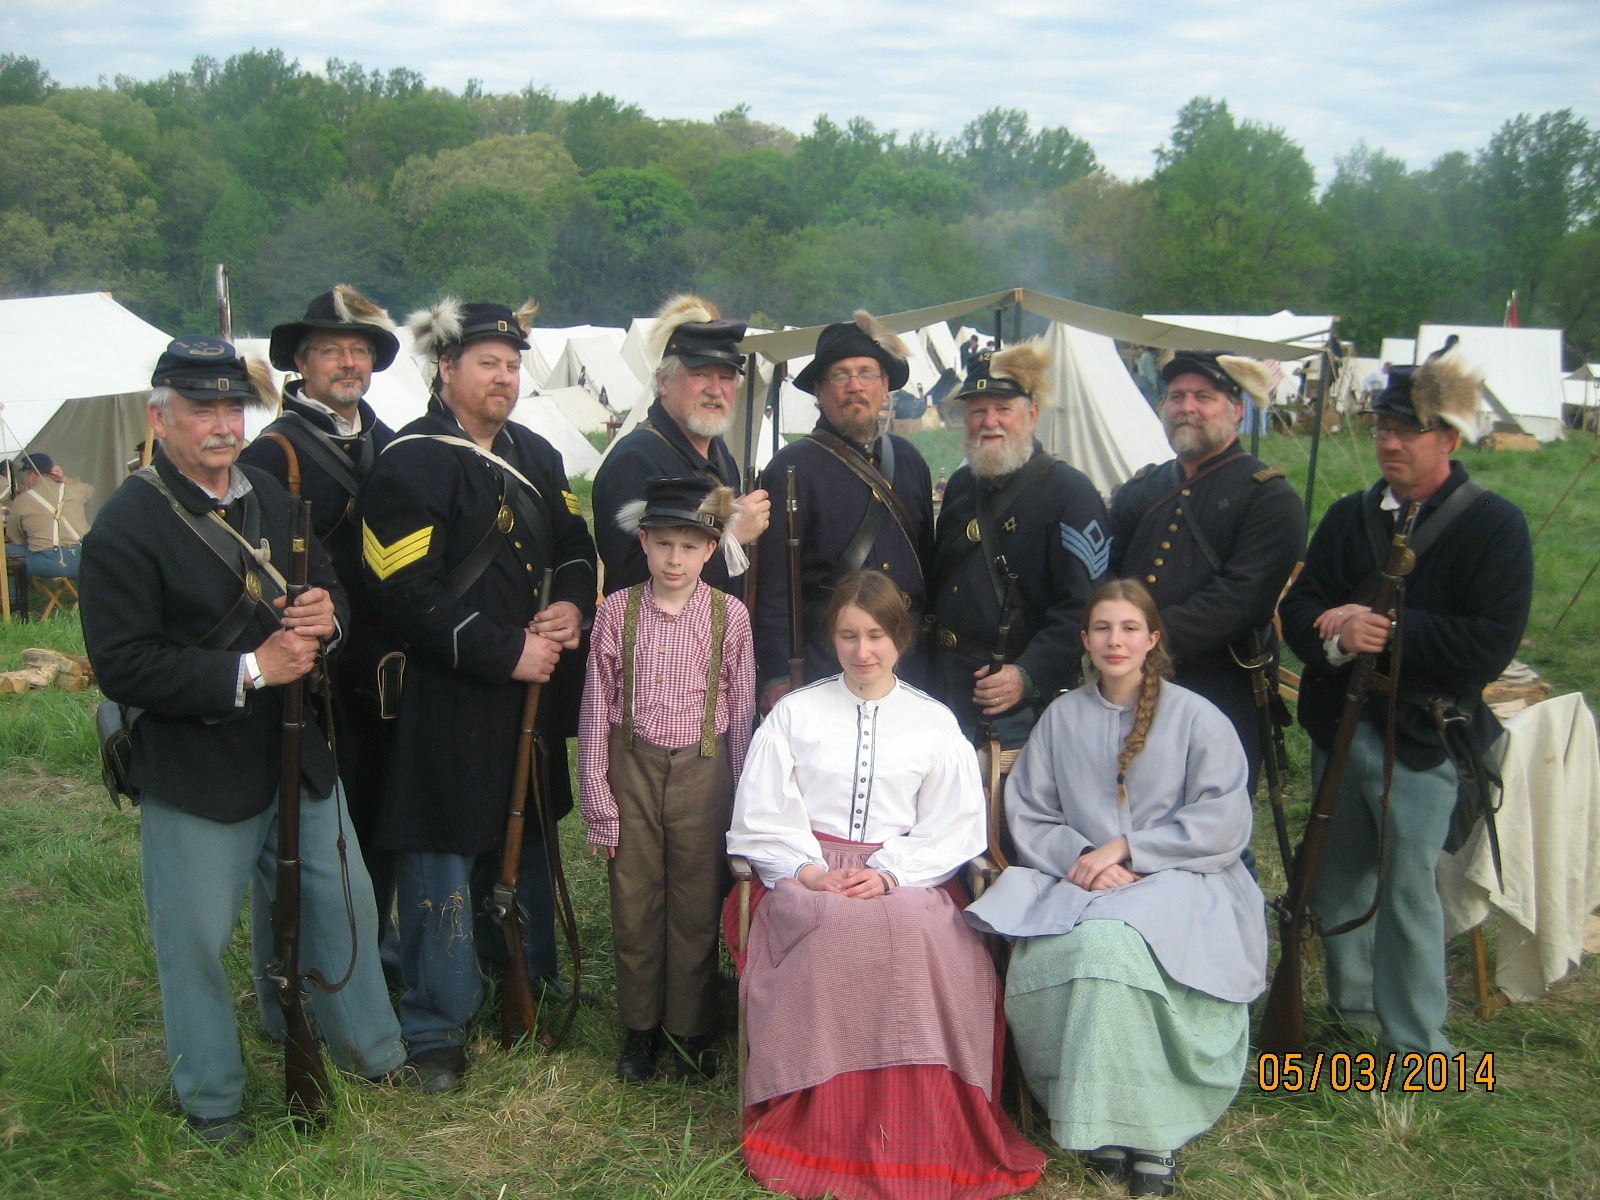
First worn: Snowshoeing in my Civil War garb, and then at the 150th Appomattox reenactment
-Michaela, “The Farming Daughter”