How to Save Money on Backpacking Gear

IMG_20180429_143941

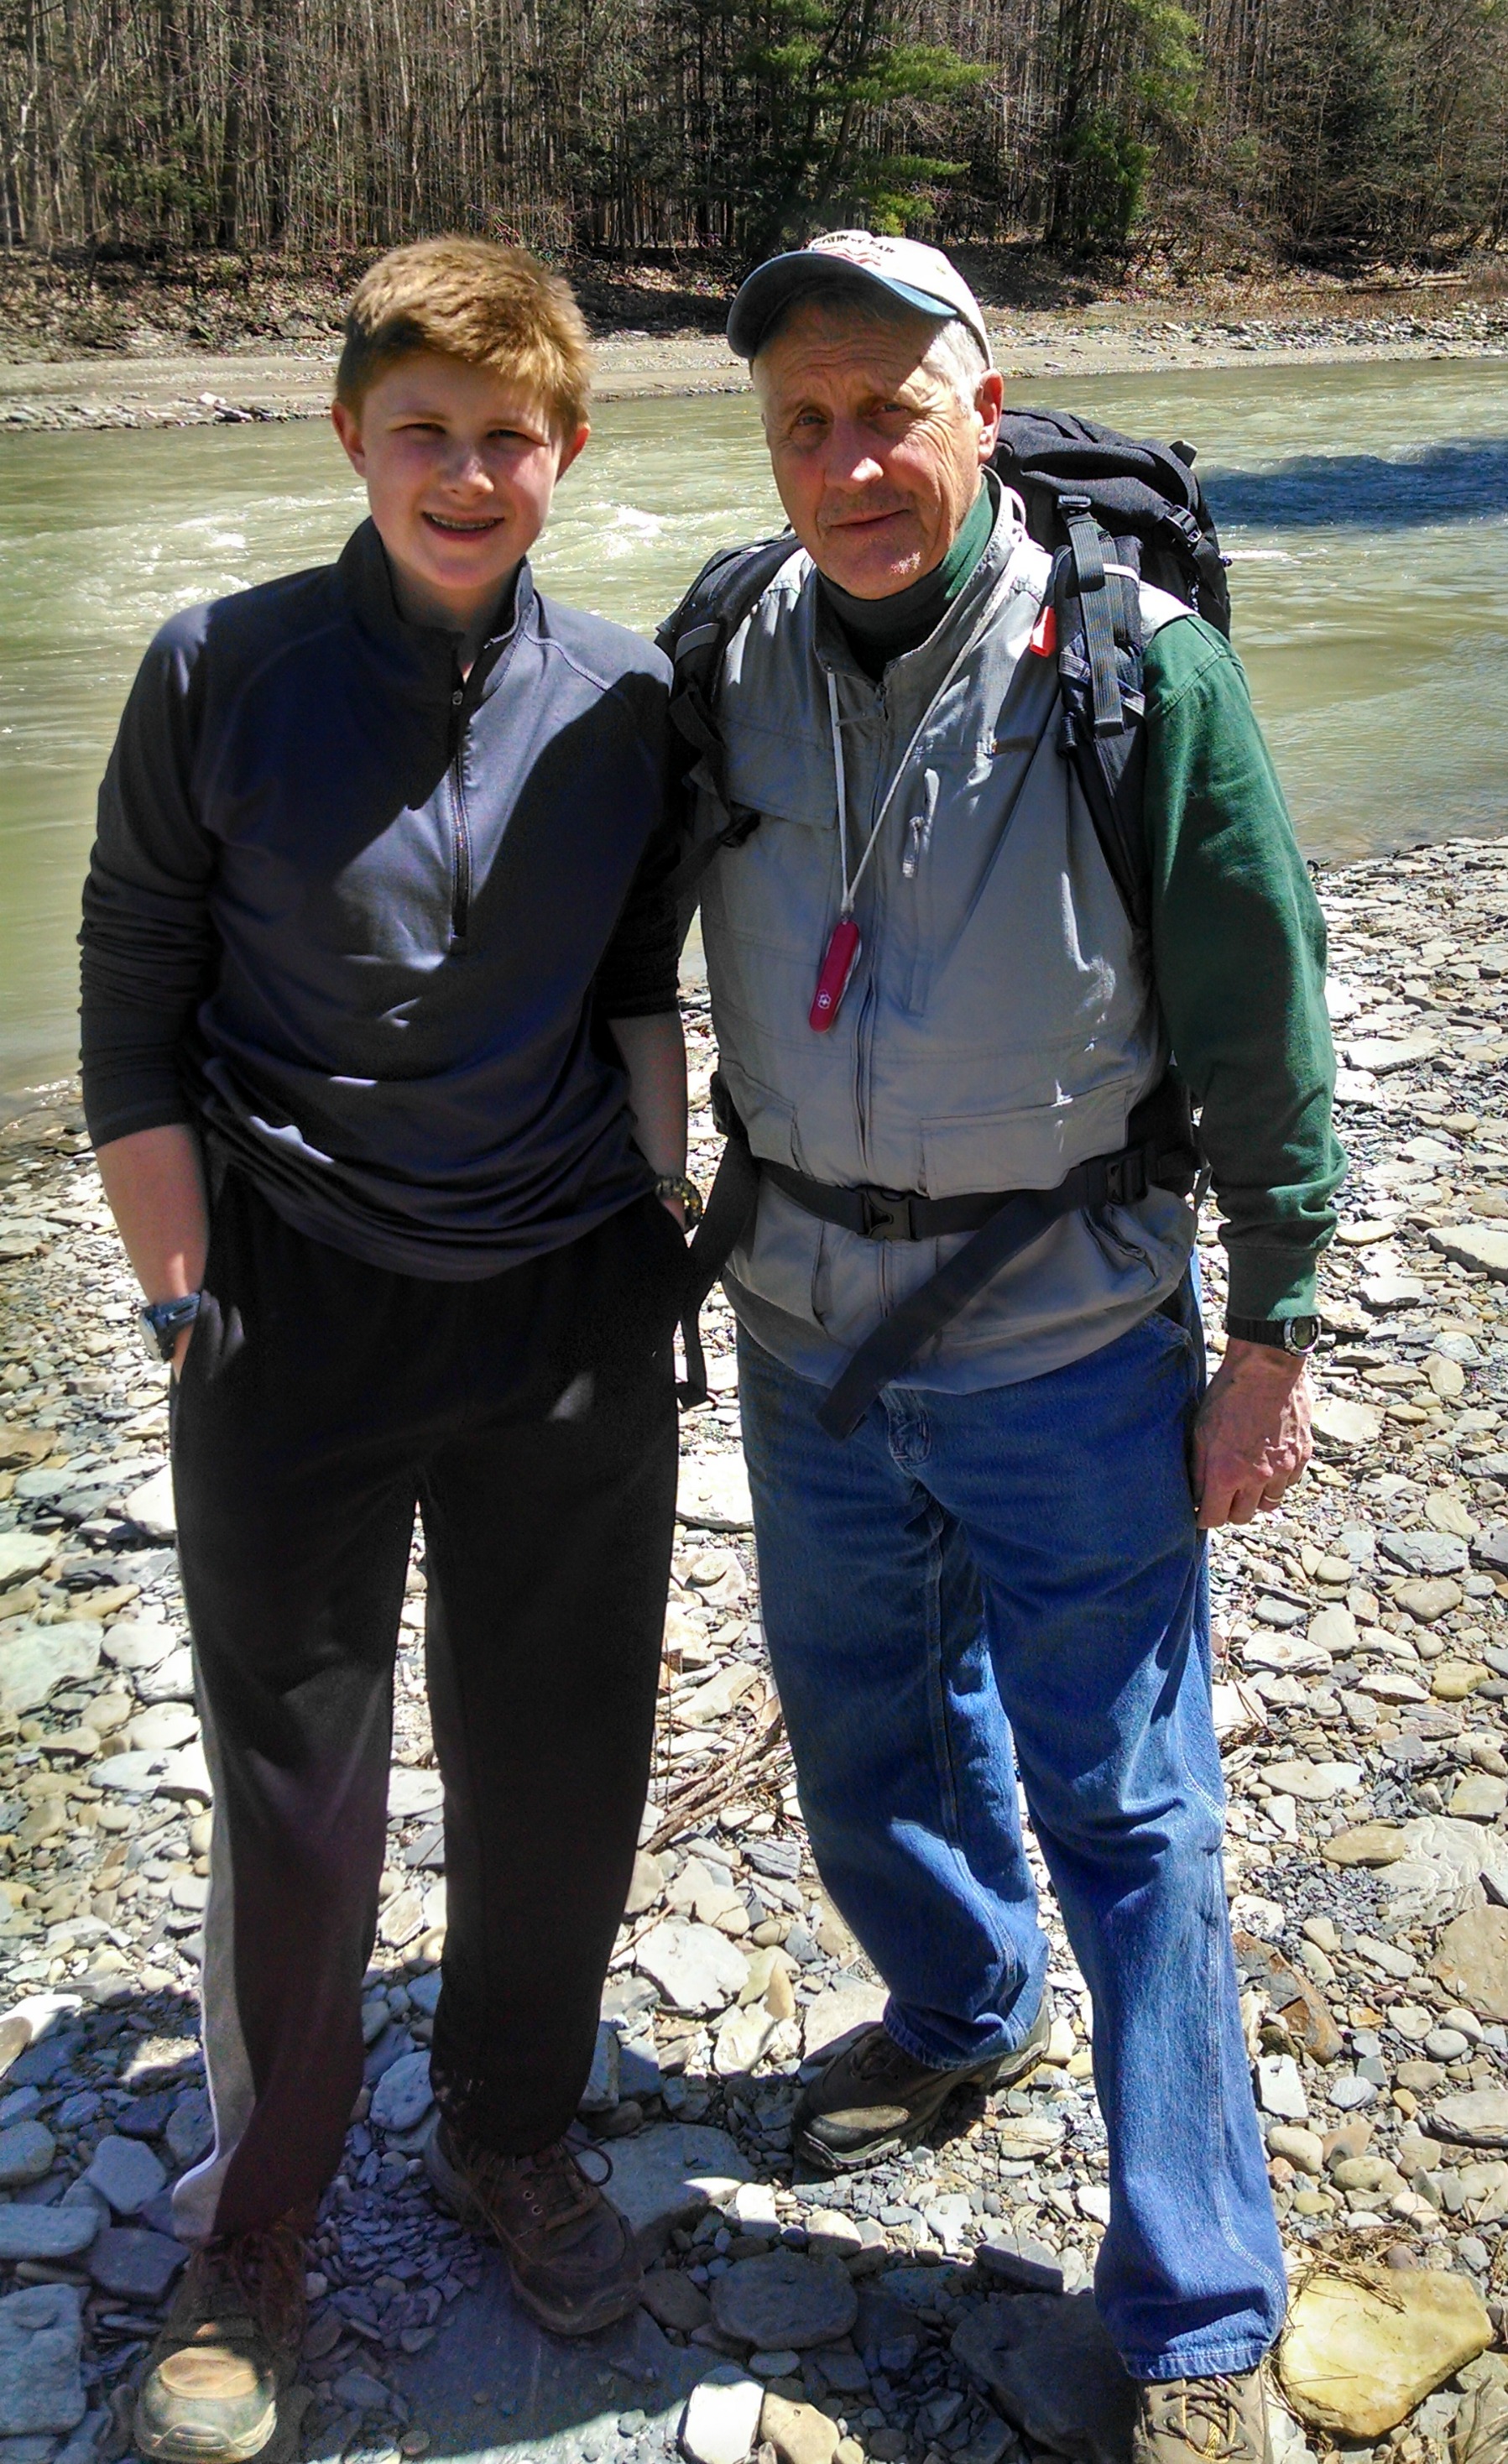
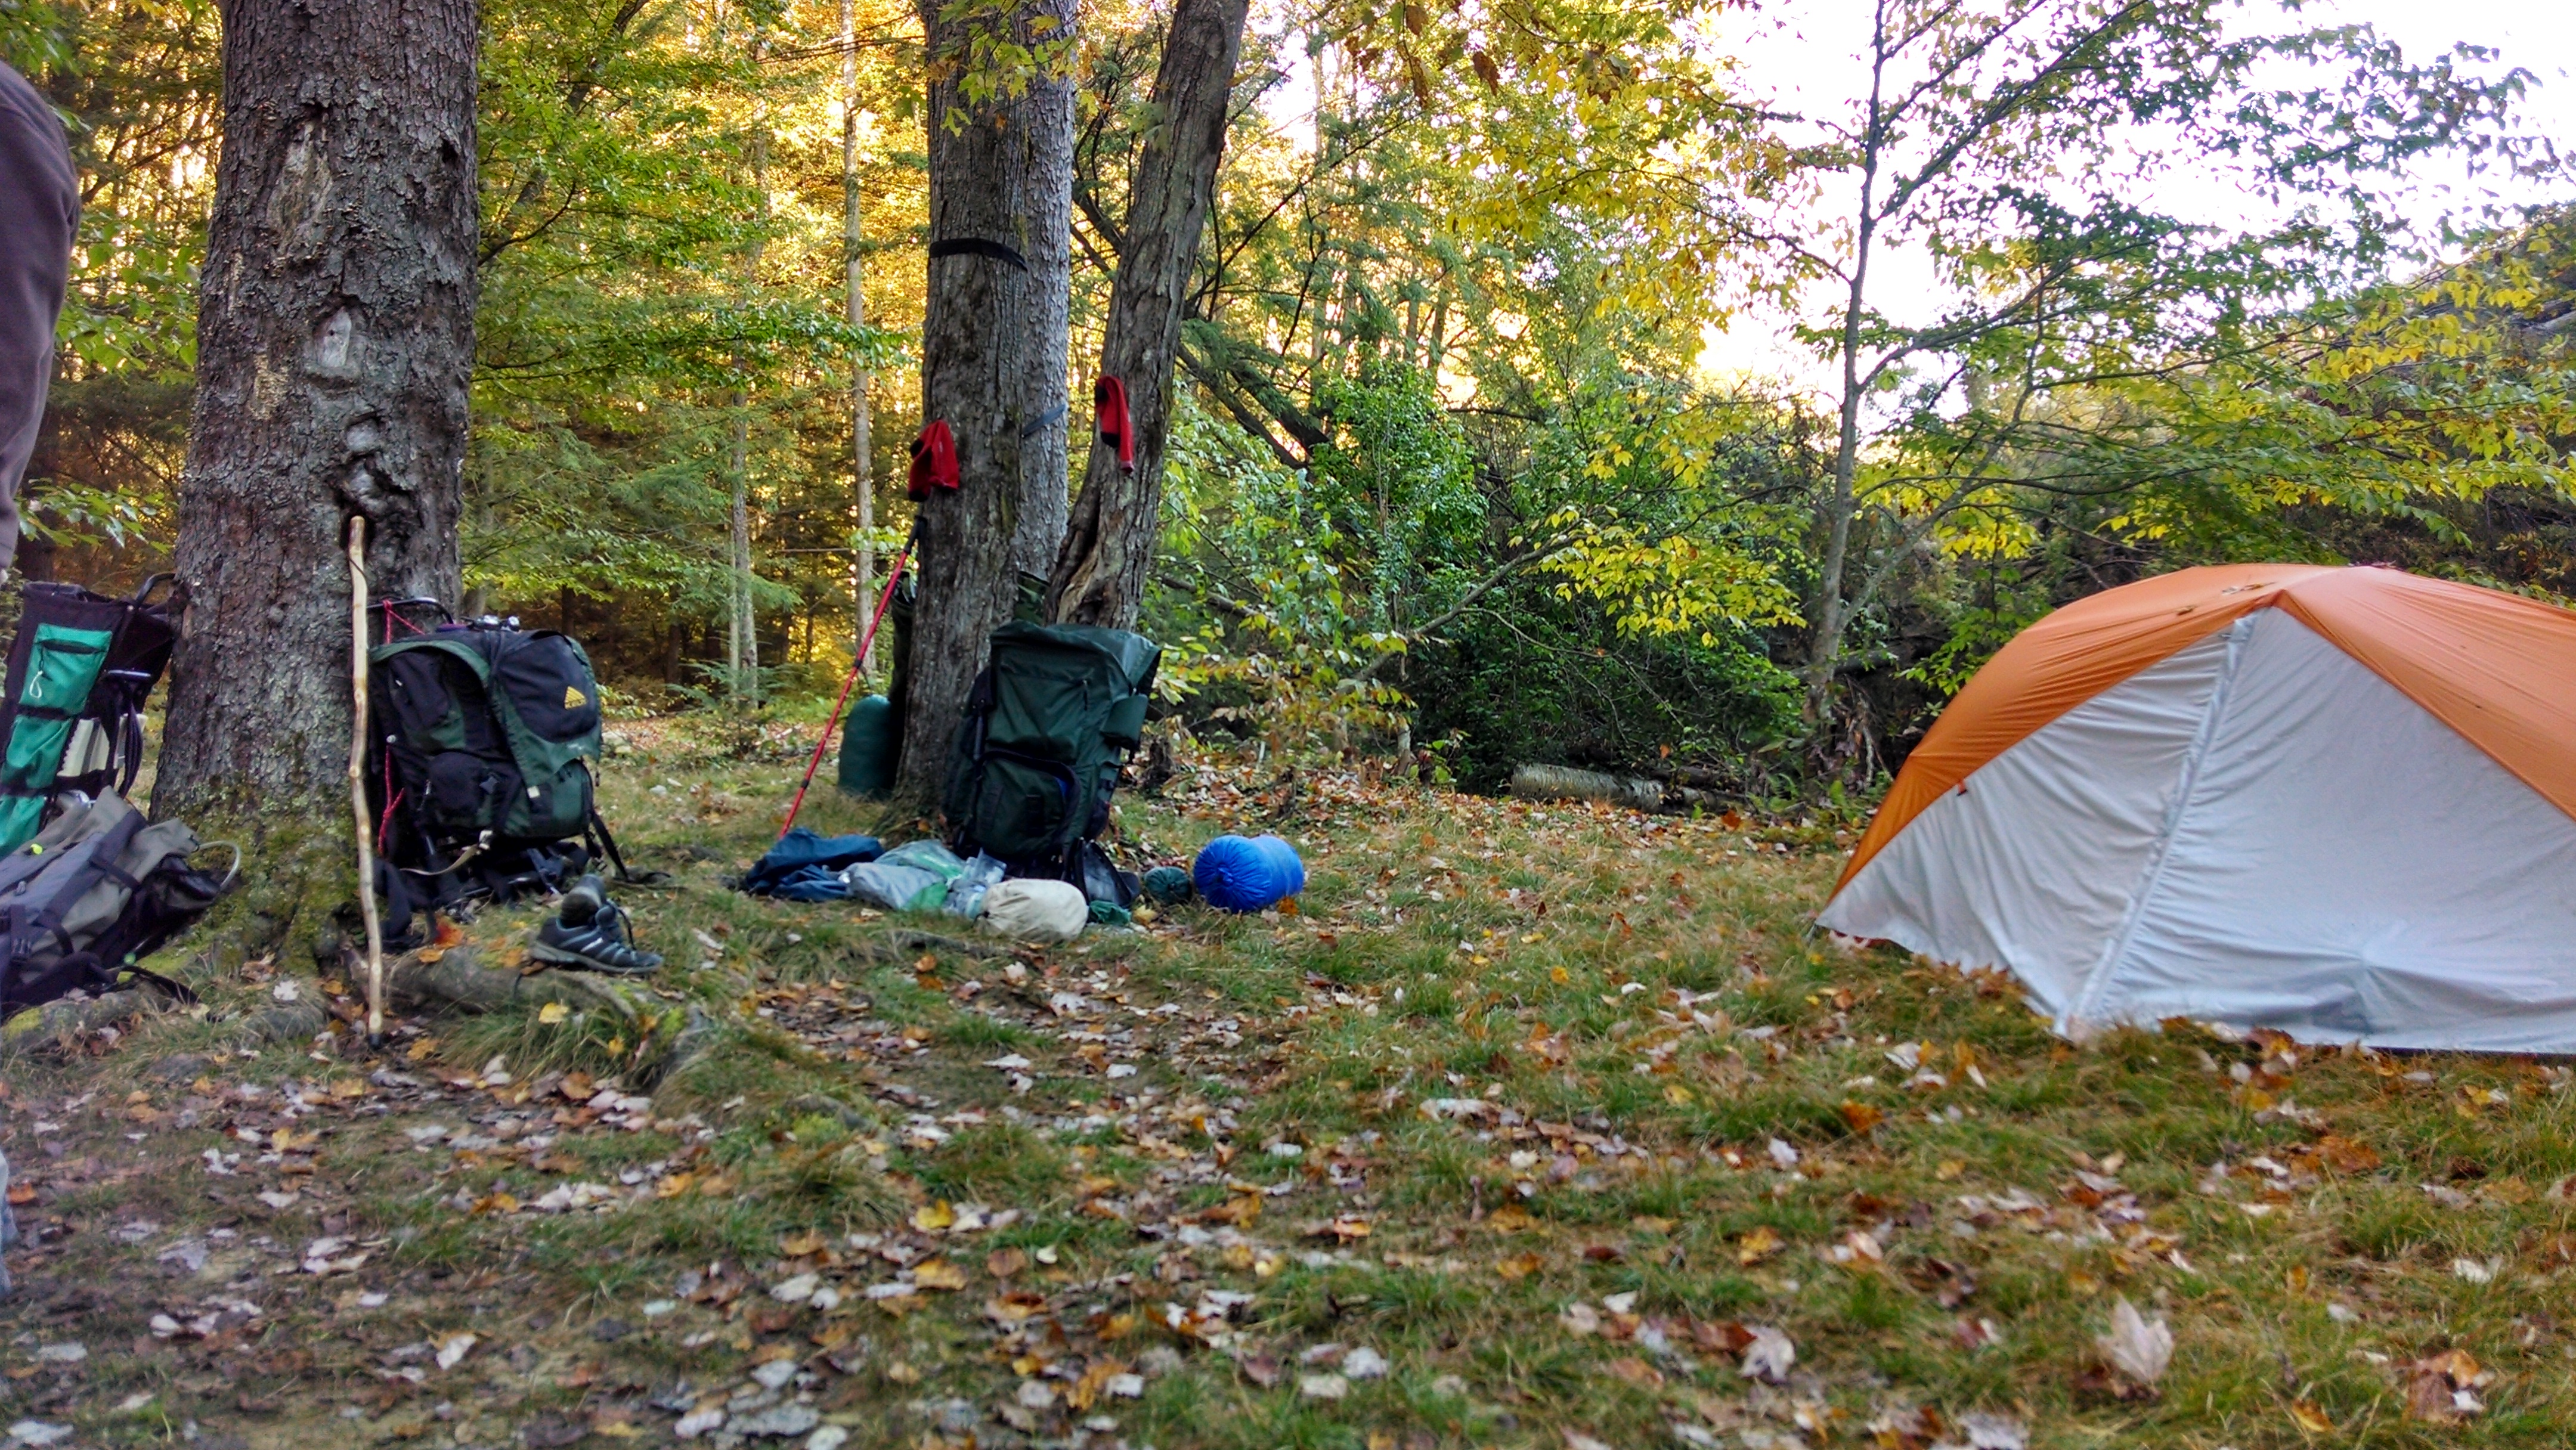
John Muir, remarking on his minimalist approach to hiking, is quoted to have said, “I rolled up some bread and tea in a pair of blankets with some sugar and a tin cup and set off.” For safety and comfort’s sake you’ll probably want to be better equipped (the famous naturalist was practically starving to death, after all), but that doesn’t mean you have to make your bank account cry in the process. I’m a total gear geek, and love the latest and greatest offerings from backpacking retailers, but I also love finding a deal. True, backpacking gear can cost a pretty penny, but it doesn’t have to. You want to be sweating over that huge elevation gain on the trail, not how much you just spent on a sleeping bag. With that in mind, here are my top five tips for saving money on backpacking gear.

Shop intentionally

“Live life with purpose” may sound like a trite millennial tattoo, but it’s solid gear shopping wisdom. Sure, browsing aimlessly may lead you to deeply discounted gear, but without a goal in mind the temptation to impulse buy can be overwhelming. You may soon discover that solar powered portable tent air conditioner and boom box combo isn’t as vital as you first thought, even if you did get it for $50 off the MSRP. Instead, take an inventory of your current gear. Focus on the Big 3 first (pack, shelter, and sleep system). Prioritize which gear you actually need, and then start searching specifically for those pieces.

Also, just because you have older gear doesn’t mean you need to replace it. It may not have all the bells and whistles of newer models, but it can still be completely usable. Don’t toss gear just because it’s “old”. A simple repair job is all you might need to add several extra years of life to a piece of gear. Using what you have and only buying what you need will help stretch your backpacking budget.

Do your research

Once you’ve identified your necessary piece of gear, it’s time to research the life out of it. Researching helps you insure you’re investing in a piece of gear that will fit your specific needs. This can be done both generally and specifically.

For example, if you’ve determined you need a new daypack you can start by doing a general search for “daypacks” on gear sale sites. Look at different styles and brands. Determine which features are important to you, and which would just be nice but not necessary. Compare prices to get a baseline price.

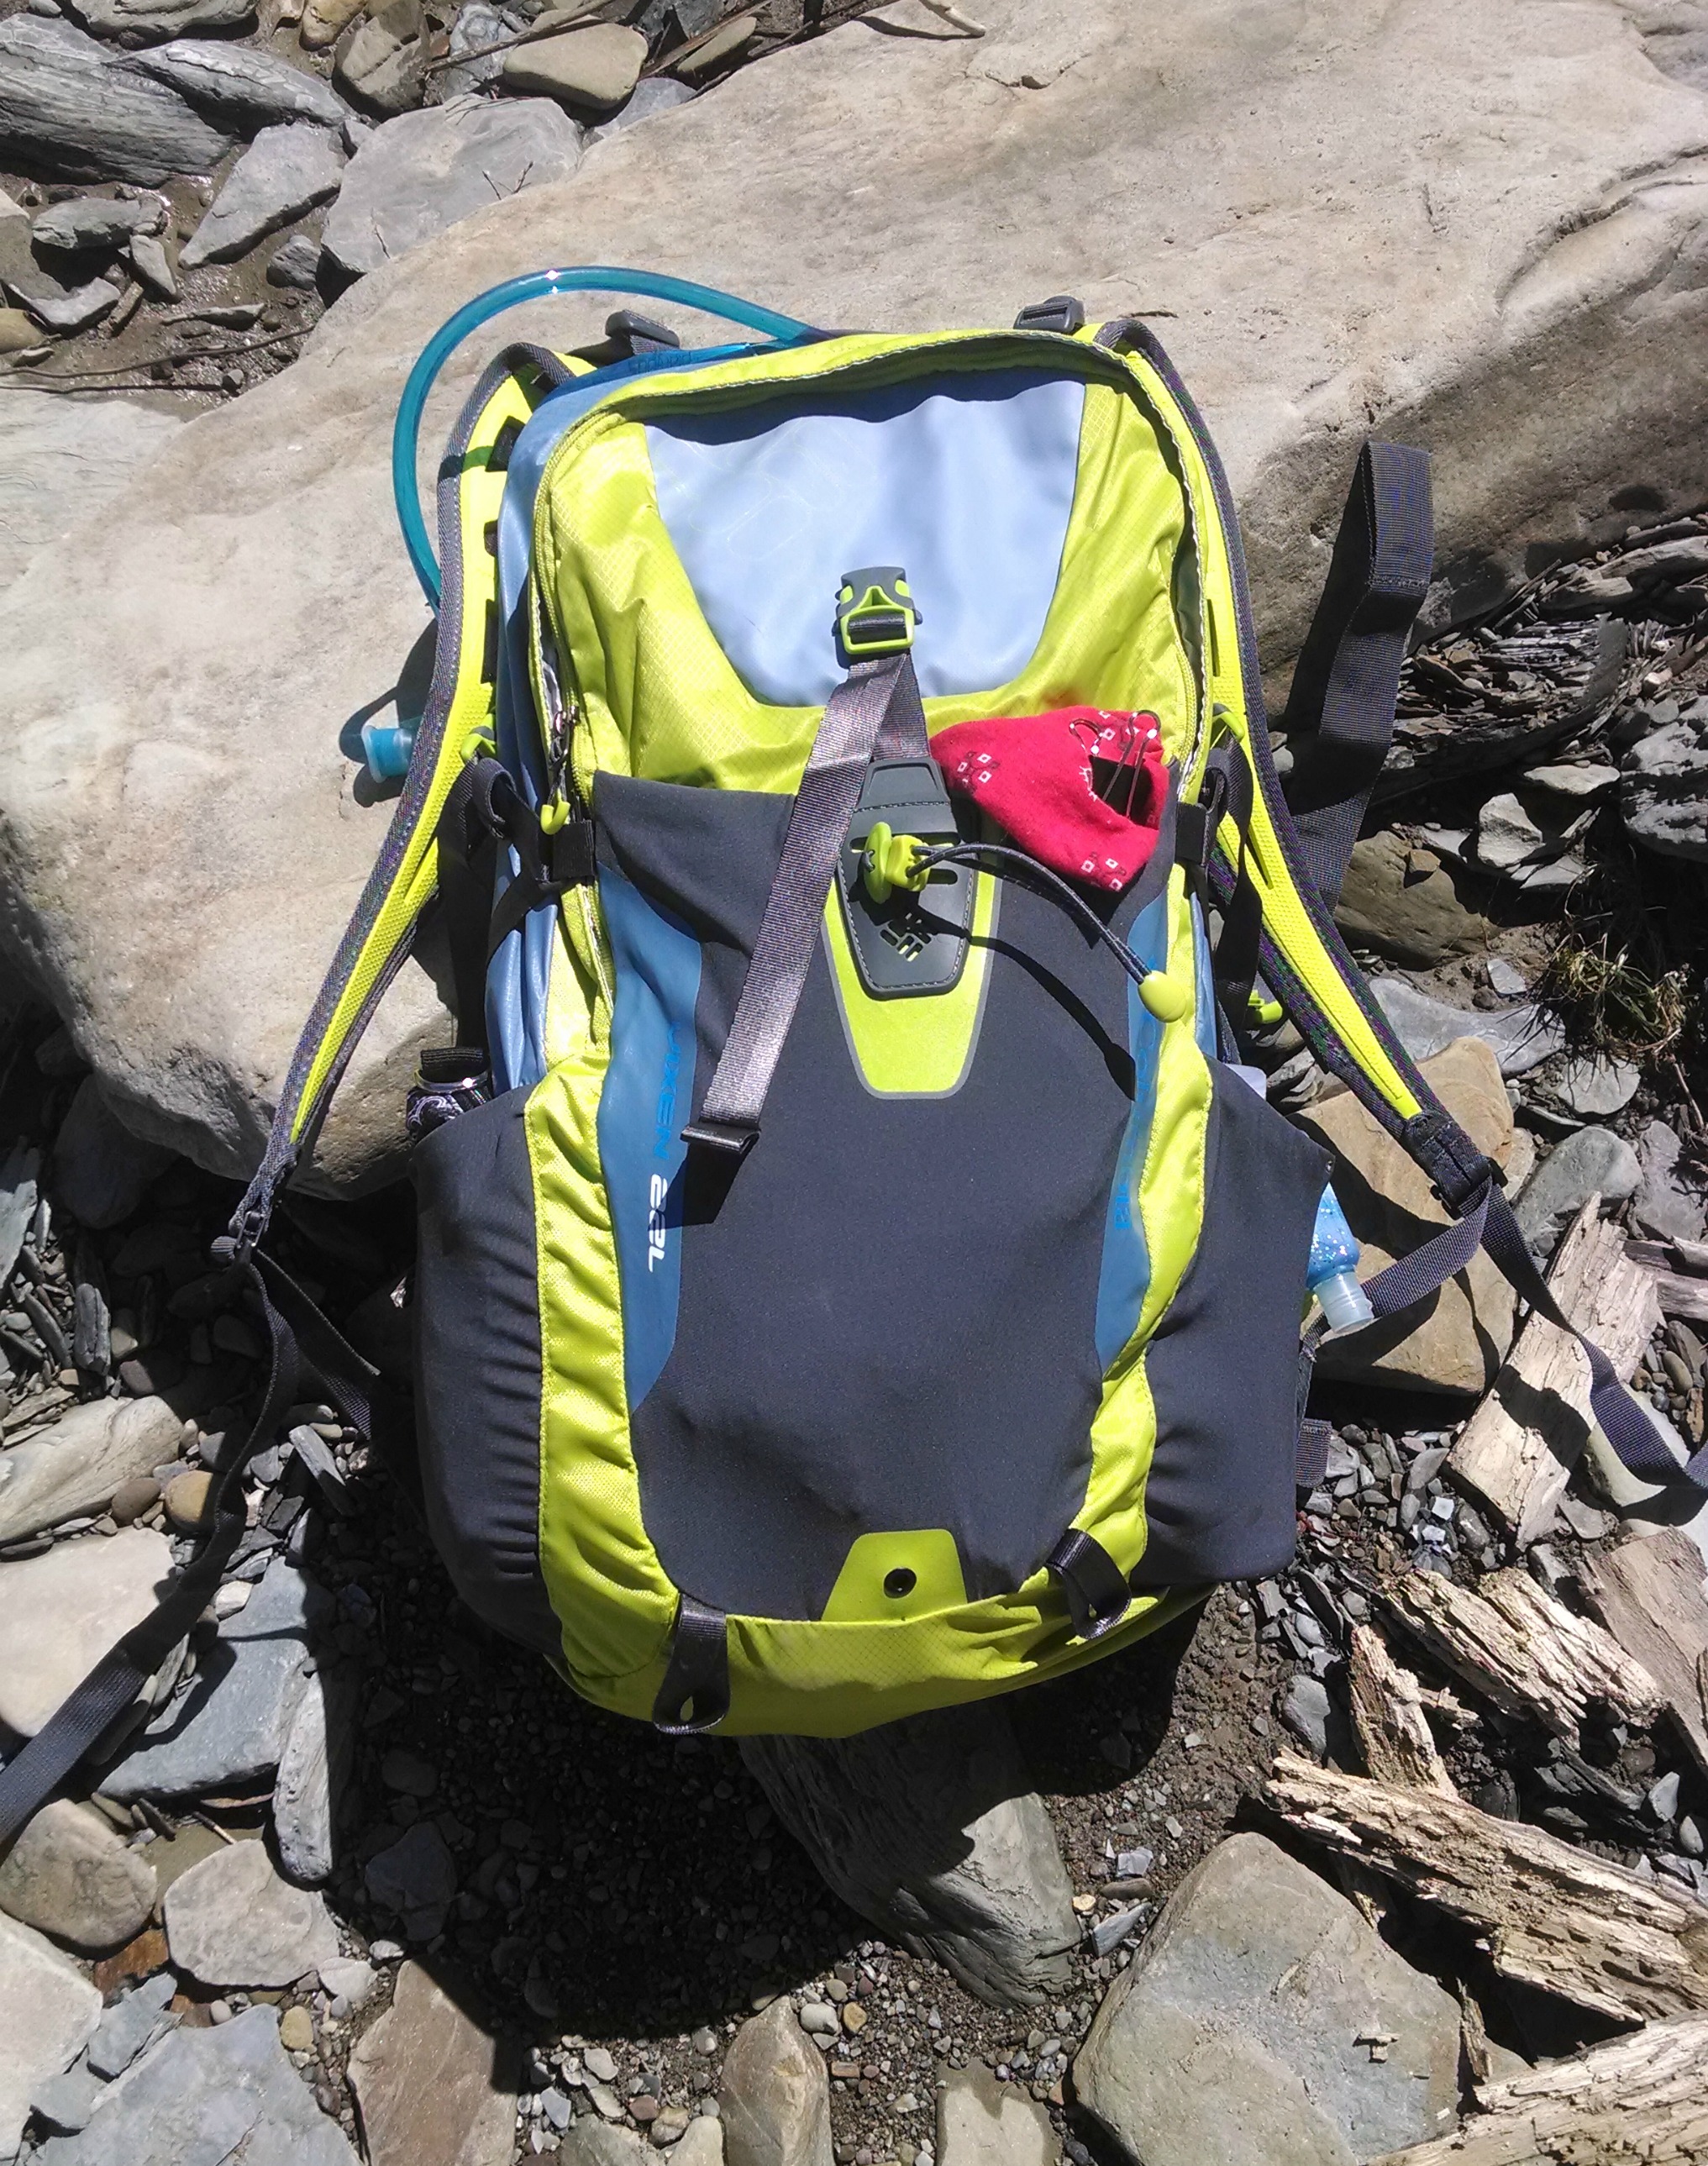
After you find a few packs that seem to fit your needs and budget, zero in on researching those specific packs. When I found my Columbia Vixen 22L pack on clearance I  thought it looked like the perfect pack for me, but I read many reviews to learn the opinions of women who actually owned it. I did this by looking up reviews on the retail site I was considering purchasing from and by googling “Columbia Vixen pack review”.

Don’t forget to also check if there are any available discount codes or free shipping deals when you go to purchase.

Don’t be picky

Certain aspects of gear like fit, size, features, and weight are vital; while others such as color and brand, are not. Purchasing gear based on its functionality, and not by the frills can save you some serious cash. Both my Patagonia Houdini windbreaker and my Columbia rain jacket cost me less than normal, simply because I bought versions in last season’s colors. Is Kelly green really my fave color? Not particularly, but the bears don’t care and it saved me $50! Or, when I was searching for a new daypack I really wanted to get the Osprey Tempest, partially because I was caught up in the Osprey brand fever. By purchasing my Columbia I snagged a great piece of gear for much less, simply because it didn’t carry the Osprey logo.

Pay more

This may sound completely counter intuitive, but bear with me. Sometimes it’s worth it to make an investment in gear that will last for years, rather than making a quick purchase of cheap gear that dies after one season. The initial purchase price may seem expensive, but consider how long you expect the gear to last. You may turn white at the thought of spending $300 on a tent, but what if that tent lasted 10 years? That would be $30/year, compared to a $150 tent that may only last 3 years ($50/year).

Or perhaps the greater functionality and performance warrants spending more. I purchased my Osprey Ariel pack at full retail price, but I knew I wanted an extremely comfortable pack that wouldn’t leave me sore after a day on the trail. I decided that the perfect fit of the pack didn’t warrant quibbling over a few extra $$.

The key here is to follow Rule #2: do your research! Make sure this investment is a quality piece of gear that will fit your long term needs, and not a purchase you will regret in 6 months.

Don’t shop at backpacking stores

This is one of my favorite sneaky tips for saving cash on backpacking gear. Products marketed to a niche consumer are going to carry prices that reflect the high level of specificity. The trick is to start shopping outside of the niche.

I’ve had the most success with this in purchasing clothing. Companies may try to convince you through clever marketing that you must wear their pair of  specially designed “backpacking pants”, but really all you need is simple, comfortable clothing made from synthetics or wool. So instead of searching specifically for “women’s backpacking clothing” at a backpacking store, I instead search for “athletic wear” at a non backpacking store. Or I’ll even look out of the athletic department at garments made from the appropriate materials. (My favorite store for doing this is actually T.J. Maxx, it’s how my sis and Mom convince me to go shopping with them there 😀 )

You can do this with other pieces of gear as well, such as cooking equipment, food, and personal care items. Simply identify the key components of the piece of gear and then broaden the search area.


Through some thoughtful prioritizing, researching, and savvy shopping you can find excellent deals on backpacking gear. Remember, the main objective is not to have the flashiest, most technical gear, but to just get out on the trail!

What is your best advice for saving money on gear?

Extra tips

Buy an REI membership – For a one-time fee of $20, an REI membership includes bonus coupons, a yearly 10% back member dividend, exclusive access to REI garage sales, and co-op voting rights.

Put gear on your birthday list/ask for giftcards

Look for lightly used gear on gear swaps or eBay

Search for clothing in the athletic wear department of a thrift store

Sign up for a site’s newsletter to learn about sales and get coupons

Websites for snagging clearance items and sales:

REI Garage

Sierra Trading Post

Backcountry

Moosejaw

Should I Use Trekking Poles?

The Farming Daughter Blog: Should I Use Trekking Poles? (https://thefarmingdaughter.com/2017/02/20/should-i-use-trekking-poles)

Should I use trekking poles?

As I started hiking more frequently I remember asking myself this very question. It seemed like the mark of a thru hiker was a pole in each fist, and if the “professionals” were using them, then I should as well, right?

On the other hand, I’m not a very graceful person so if I couldn’t even walk without tripping over my own feet how would I manage while worrying about two extra sticks? Plus, would the benefits of trekking poles outweigh the hassle of not having my hands free to snack while walking or snap a pic? And I have to admit, I was secretly afraid of projecting a facade of more hiking expertise than I actually possessed.

These concerns, coupled with a reluctance to spend money on something I might end up disliking kept me from buying trekking poles. Thankfully, my sweet mother made the decision for me and bought me a pair for my birthday last year. After using them on almost every hike I’ve gone on since then (including snowshoeing) I’d like to share my reasons I think you should at least give trekking poles a chance.

1. Trekking poles give you stability.

The first 5 minutes of using my trekking poles I doubted I would like them. I seemed to knock them against every root and stone in my path and they felt awkward and cumbersome in my hands. So much for supporting me, I thought. These things trip me up more than they help. Good for me I didn’t quit, because I quickly picked up the rhythm of stepping with my feet and swinging my poles. Once I was in the groove, I soon realized how helpful my poles were at keeping me from stumbling. They provide two extra points of contact with the ground that help to keep my balance. They also work splendidly to help you feel more secure on steep downward descents.

2. Trekking poles put your whole body to work.

Hiking is essentially walking long distances in the woods. It’s great for giving your lower body and cardio a workout, but no so much the rest of your body. That is, unless you use trekking poles. Using trekking poles causes you to engage your arms and upper body, giving you an awesome full body work out.

3. Trekking poles help you to power through challenging parts of the trail.

Because you now have your arms and upper body engaged while hiking it makes it easier hiking through steep or challenging sections of the trail. I have often found my poles are just the extra “boost” I need to assist me up a daunting incline.

4. Trekking poles take stress off your knees and lower joints.

Since your whole body is engaged while using trekking poles the impact is also distributed. Ironically, for being an avid hiker I have problems with feet, leg, and knee pain. Using trekking poles makes my arms and upper body go to work and helps take some of the stress off my knees and lower joints. I really wish I had used trekking poles on my September 2015 backpacking trip when I was hiking on a sprained ankle!

5. Trekking poles are multi-purposed.

Trekking poles aren’t only for helping you to walk! They work great for sounding out the depth of creeks or snow. There are some ultra-light tents that shave weight by using your trekking poles as the poles to hold up your shelter. You can purchase camera mounts that attach and turn your trekking poles into a mono-pod for photography. And lets all admit, who doesn’t feel at least a bit more protected from predators with two sturdy sticks in their hands?

And finally…

6. Trekking poles help you to hike faster.

The combination of stability, a fully engaged body, assistance on precipitous parts of the trail, and decreased hiking pain naturally means you’re going to hike faster. Granted, speed isn’t everything, but sometimes I appreciate being able to maximize my time in the outdoors and cover more ground.

Is there any time when you shouldn’t use trekking poles? If you’re planning on walking at a more leisurely pace trekking poles aren’t always necessary, when you’re going to be doing an activity that requires the use of your hands (such as photography) it might be best to leave them at home, and if you’re in a group walking close together poles might get in the way of others.

If you’re still not fully convinced that you need trekking poles and are hesitant like I was to drop the dough on them, I recommend you start out with a cheaper pair just to give them a try. I was pleasantly surprised with how well my Yukon Charlie’s Trek Lite Anti-Shock Poles worked! So far they’ve proven very durable, it’s relatively easy to adjust the length, and for only $50 they surprisingly still have the high-end feature of cork grips. You can find them here, or search on Amazon.com where certain colors are even cheaper.

my-trekking-poles

I hope this post has convinced you to at least give trekking poles a chance, but whether you prefer a pole in each hand, your trusty walking stick, or to just let your arms swing free, the important thing is to get out there and go hiking!

What is your experience with trekking poles? Have you ever tried a piece of gear and wondered where it had been all of your previous hiking life?

-Michaela “The Farming Daughter”

Columbia Vixen 22 Pack Review

The Farming Daughter: Columbia Vixen 22 Pack Review ( https://thefarmingdaughter.com/2016/01/24/columbia-vixen-22-pack-review/)

I admit it. I’m a total backpacking gear geek. So it’s entirely normal for me to quote tent statistics, argue the benefits of down versus synthetic insulation, and gush about pack suspension systems. But when I was still waxing poetic about my Columbia Vixen 22L Daypack almost ten months after I bought it, I knew I was completely smitten.

The Farming Daughter: Columbia Vixen 22 Pack Review ( https://thefarmingdaughter.com/2016/01/24/columbia-vixen-22-pack-review/) 10

I purchased this pack from REI in the beginning of April. I was looking for a comfortable fitting pack that was large enough to carry the essentials for a day hike, without being overkill. Since then I have used it in a variety of conditions including: snow hiking in the spring, my trip to Valentines Flats, snowshoeing this winter, and even lending it to my sister to use. The pack has proved to have exactly the features I need, without any superfluous ones that I don’t.

The Farming Daughter: Columbia Vixen 22 Pack Review ( https://thefarmingdaughter.com/2016/01/24/columbia-vixen-22-pack-review/) 2
Using the Vixen at Valentine Flats this spring

Let’s break down what I love about this pack, and the few things that could use some improvement.

Features

The Columbia Vixen 22L is a women’s specific daypack with a 22 liter capacity. It has one main panel loading compartment, a small zipper pouch at the top, a stretchy stuff pocket on the front, and two water bottle pockets on the sides. There is also a water bladder sleeve in the main compartment and two zipper pouches on the hipbelt.

The Farming Daughter: Columbia Vixen 22 Pack Review ( https://thefarmingdaughter.com/2016/01/24/columbia-vixen-22-pack-review/) 9

I read some complaints that the pack wasn’t divided into smaller sections for organization, but personally I found the compartments it did have worked well. I tend to use the small zipper pouch for important items like car keys, cell phone, money, ID, and a headlamp. The main compartment I organize by using a small dry sack for first aid & survival gear, and a medium dry sack for extra clothes. The outer stretchy pouch is perfect for frequently used items or wet and dirty clothes that you don’t want inside your pack.

The Farming Daughter: Columbia Vixen 22 Pack Review ( https://thefarmingdaughter.com/2016/01/24/columbia-vixen-22-pack-review/) 5
Small zipper pouch on the top of the pack: perfect for storing small items like car keys and your phone

The 22 liter capacity is not huge (especially when hauling extra winter gear), but it is sufficient. I like that the pack is hydration system compatible, but make sure you insert your water bladder before your other gear, otherwise it can be a pain to slide it into the sleeve.

The back of the pack is a “trampoline back” which means that your back is held away from the back of the pack by a piece of aerated material.

The Farming Daughter: Columbia Vixen 22 Pack Review ( https://thefarmingdaughter.com/2016/01/24/columbia-vixen-22-pack-review/) 3
The trampoline back creates a gap for increased ventilation and airflow

I love this feature because the resulting gap between the pack and yourself almost completely solves the uncomfortable “sweaty back” problem!

The shoulder straps and waist belt are also designed to keep you cool with Columbia’s innovative combination of comfortable Techlite™ foam and mesh.

A built-in whistle on the sternum strap buckle and a system to store your trekking poles when not needed were nice touches. I’m still a little dubious, however, of the Silverback™ reflective lining that, supposedly, “allows you to easily see inside your pack”.

The Farming Daughter: Columbia Vixen 22 Pack Review ( https://thefarmingdaughter.com/2016/01/24/columbia-vixen-22-pack-review/) 4
Back view of the pack

Fit

I would probably say that the comfort I feel while wearing this pack is its number one selling feature for me!

This was the first pack I ever bought that had a women’s specific design, and when Columbia says “women specific” they don’t just mean “shrink it and pink it”. The way this pack wraps around my curves and hugs my back without flopping, bouncing, or shifting makes me happy just to think about it! The weight is placed squarely on your hips so the shoulder straps don’t even touch the tops of your shoulder! It practically feels like it’s levitating when I wear it.

The Farming Daughter: Columbia Vixen 22 Pack Review ( https://thefarmingdaughter.com/2016/01/24/columbia-vixen-22-pack-review/) 8
Trying out the pack for the first time in April 2015…after one mile the comfort of the pack had me sold!

I do have a warning though, for my petite backpacking sisters… I have to wear this pack with the waist belt tightened almost as far as it will go; my sister Addison wears it tightened all the way. So if you are very slender you might want to pass on this pack…you won’t be able to tighten the waist belt enough and all of the pack weight will be placed improperly on your shoulders.

The Farming Daughter: Columbia Vixen 22 Pack Review ( https://thefarmingdaughter.com/2016/01/24/columbia-vixen-22-pack-review/) 6
Addison using the pack during our backpacking trip in September. She loved it so much I almost didn’t get it back from her!

Durability

While this pack has held up fine for me, I would be a little hesitant to recommend it to anyone who is rough on their gear or who will be packing in areas with sharp brush or rocks. The fabric of the pack is strong for holding gear, but quite thin, and I’m afraid it could be easily punctured. The stretchy front and side pockets make me suspect they could be snagged on bushes. Case in point, don’t drag this pack over scree or run through a briar patch with it (not that I would recommend doing this with any pack!) Let’s just say I am infinitely glad I chose not to take this pack on my caving expedition in May!

Price

The manufacturer’s suggested retail price for this pack is $129. Comparing it to similar models (like the Osprey Tempest 20) I would say this pack is comparably price for its market. Catching this pack while on clearance and combining it with a coupon, however, helped me to snag the Vixen for a cool $44.73, which for the comfort level and functionality was a steal in my opinion!

Conclusion

The Columbia Vixen is an extremely comfortable pack designed with women in mind. The pack has the perfect amount of space for an all-day summer hike, or a lightly packed winter snowshoe trip. The ventilation system is top notch, and the easily accessible stuff pouch, hip belt pockets, and trekking pole loops put this pack at the top of the line. However, petite individuals or gear abusers might want to steer clear.

The Farming Daughter: Columbia Vixen 22 Pack Review ( https://thefarmingdaughter.com/2016/01/24/columbia-vixen-22-pack-review/) 7
Using the Columbia Vixen while snowshoeing

Where to purchase

Most unfortunately, I bought this pack on clearance because Columbia was discontinuing it. Why they would scrap such an excellent pack is beyond me and I will be on the lookout to see if they start offering a new design with comparable size and features. In the meantime, if you see this pack on eBay or a gear swap I recommend grabbing it!

-Michaela “The Farming Daughter”

Note: This pack was purchased for my own personal use. I was not paid or compensated in any way to purchase, use, or review this pack. The views and opinions expressed are solely my own.

Full Circle

The Farming Daughter: Full Circle 4 https://thefarmingdaughter.com/2015/09/12/full-circle/

I went backpacking for the first time about eight years ago. Some friends of our family, the Maybrays, kindly offered to take me along with them on a trip and I enthusiastically accepted.

Looking at photos from that trip I see a lanky, twelve year old version of me smiling a mouthful of braces. I didn’t have hiking boots (still don’t, actually) so I wore a pair of sneakers. My outfit consisted of a pink synthetic shirt and a pair of jogging pants found at Target. My pack was an old external frame thrift store find and didn’t even have a hip belt, so we jerry-rigged a fanny pack and piece of nylon webbing to go around my waist. We didn’t see any animals more exciting than a chipmunk and probably hiked less than five miles, but you know what? I had a blast. And ever since that trip, I’ve been hooked on backpacking.

The Farming Daughter: Full Circle 2 https://thefarmingdaughter.com/2015/09/12/full-circle/
Me on my first backpacking trip

I’ve gone on several more trips with the Maybrays, and last year my brother Marcus was able to come along too.

Last week I had the opportunity to bring three of my siblings on a short overnight backpacking trip. This was Mason’s first overnight hike, and just like I was, he is only twelve years old.

The Farming Daughter: Full Circle 1 https://thefarmingdaughter.com/2015/09/12/full-circle/
Marcus (14 yrs.), Mason (12 yrs.), and Addison (16 yrs.)

As I was reflecting on the trip I realized that my backpacking adventures have come “full circle”. I started out as the inexperienced novice, hungrily soaking up information. Then, I was knowledgeable enough to give some gear and packing advice to my brother for his first trip. And now, I was able to do what the Maybrays did for me, take an excited twelve year old on their first backpacking trek! It felt wonderful, and a great tribute to what the Maybrays did for me, to take what they had taught me and “pay it forward”. Maybe someday Mason will be able to use what he’s learned from me and introduce another person to backpacking!

We hiked a section of the North Country Trail/Finger Lakes Trail that winds through the Stevenson Forest Preserve, Rieman Woods, and Robert H. Treman State Park. The terrain was fairly easy, with some steep ascents that were moderately challenging. Our biggest obstacle to overcome was the heat that soared into the nineties!

The Farming Daughter: Full Circle 3 https://thefarmingdaughter.com/2015/09/12/full-circle/
I told Mom we should take a group picture before we headed out and she thought it was a good idea. “Plus,” I said, “then you can use the photo for identification purposes in case we get lost and don’t come back!” (Note: not the best thing to tell your mother.)

The Farming Daughter: Full Circle 5 https://thefarmingdaughter.com/2015/09/12/full-circle/

The Farming Daughter: Full Circle https://thefarmingdaughter.com/2015/09/12/full-circle/ 25
Mason

We ate a lunch of cheese sticks, beef jerky, crackers, trail mix, and peanut butter cookies in the Rieman Woods camping area. Backpackers can bivouac in this spot, but there is no water nearby.

The Farming Daughter: Full Circle https://thefarmingdaughter.com/2015/09/12/full-circle/ 7

About 2.6 miles into our hike we came upon this sign:

The Farming Daughter: Full Circle https://thefarmingdaughter.com/2015/09/12/full-circle/ 8
Just take note that if you’re hiking this trail the detour adds almost a mile onto the hike. 

The detour also forced us to walk off the trail and along the roadside more, but since we were out of the woods we also saw some better views:

The Farming Daughter: Full Circle  https://thefarmingdaughter.com/2015/09/12/full-circle/ 9

The Farming Daughter: Full Circle  https://thefarmingdaughter.com/2015/09/12/full-circle/ 6
While hiking past Hines Road we crossed a field with a beautiful historic barn that has been renovated into an event center known as the Treman Center. (For more info click here.)
The Farming Daughter: Full Circle  https://thefarmingdaughter.com/2015/09/12/full-circle/ 10
Anybody know what kind of flower this is?

We had to cross Fish Kill Creek, so we stopped for a short break to allow me to soak my still-recovering sprained ankle in the cold water. Marcus entertained himself in the meantime with taking funny pictures on my phone 🙂

The Farming Daughter: Full Circle  https://thefarmingdaughter.com/2015/09/12/full-circle/ 11

The Farming Daughter: Full Circle https://thefarmingdaughter.com/2015/09/12/full-circle/ 12
Mason and Marcus

The Farming Daughter: Full Circle https://thefarmingdaughter.com/2015/09/12/full-circle/ 13

The Farming Daughter: Full Circle https://thefarmingdaughter.com/2015/09/12/full-circle/ 14

The Farming Daughter: Full Circle https://thefarmingdaughter.com/2015/09/12/full-circle/ 15

The Farming Daughter: Full Circle https://thefarmingdaughter.com/2015/09/12/full-circle/ 16
“Bridge Unsafe”
The Farming Daughter: Full Circle https://thefarmingdaughter.com/2015/09/12/full-circle/ 17
Ya’ think?! 😀

The Farming Daughter: Full Circle https://thefarmingdaughter.com/2015/09/12/full-circle/ 18

The Farming Daughter: Full Circle https://thefarmingdaughter.com/2015/09/12/full-circle/ 19
Photo by Addie

The Farming Daughter: Full Circle https://thefarmingdaughter.com/2015/09/12/full-circle/ 20

The Farming Daughter: Full Circle https://thefarmingdaughter.com/2015/09/12/full-circle/ 21
This was my first time using my new Osprey Ariel 65 pack. After I use it some more to thoroughly test it out I’ll do a review post, but so far I’m really loving it 🙂
The Farming Daughter: Full Circle https://thefarmingdaughter.com/2015/09/12/full-circle/ 22
Cooking dinner, on a cat food can stove no less.
The Farming Daughter: Full Circle https://thefarmingdaughter.com/2015/09/12/full-circle/ 23
Pack explosion while making dinner.
The Farming Daughter: Full Circle https://thefarmingdaughter.com/2015/09/12/full-circle/ 24
Me and the boys
The Farming Daughter: Full Circle https://thefarmingdaughter.com/2015/09/12/full-circle/ 25
Since it was just one night we left he tents at home and stayed at the Sierra Shelter.

Trail hiked: North Country Trail/Finger Lakes Trail from Stevenson Forest Preserve to Robert H. Treman State Park

Miles hiked: 10

Temperature: 90° F

Maps used: Finger Lakes Trail Conference Map 16 (liked the actual map in this), CNY Hiking trail description (liked the land mark descriptions in this)

Information:

CNY Hiking FLT – Free topo maps of the trail and land mark descriptions

Finger Lakes Trail Conference – They have standard maps for purchase, as well as instant downloads. The one you want is Map 16.


-Michaela “The Farming Daughter”

Valentine Flats

Far have I traveled and much have I seen,

Dark distant mountains with valleys of green.

“Mull of Kintyre” by Paul McCartney

Dear me! I’m rather far behind posting about some of the adventures I’ve been having. I think I’ve just been too busy having the adventures (and working on the farm, and being a big sister, etc.) to post about them. I’ll attempt to post about what I’ve been up to, starting today with a day hike I did in April.

I went hiking, together with two of my brothers (Marcus and Mason), my cousin Christopher, and our family friend Professor Allan, to Valentine Flats, a part of the 3,014 acre Zoar Valley Multiple Use Area. I had never been there before, but after seeing the steep cliffs, waterfalls, and the creek I absolutely plan on going back.

After meeting up with the rest of our group, we hiked down the steep trail leading into the gorge. Sixty years ago there used to be a farm on the flat land in the valley, and this trail was the former access road to the farm. It was amazing to see how thick and tangled the trees were in an area that had not long ago been cleared farm land. All that remained was the stone foundation of the farm house and a bit of the barn foundation. It reminds me of a verse from Ecclesiastes that says, “A generation goes and a generation comes, but the earth remains forever.”

The abandoned house foundation.

After the farmhouse ruins, we hiked through the woods and flat flood plain to the Cattaraugus Creek. Near the upper end of the flats we saw a plain tombstone marked “Thomas Dutton”. In the fall of 1826, Thomas Dutton was traveling near the creek on his way to Ashford and was, presumably, drowned. His body was found washed ashore the next spring about 1600 feet downstream. It was impossible for the coroner, Ahaz Allen, to determine, but it was reputed that since the $400 and silver watch Thomas had been carrying were never found he had been killed by a thief.

Thomas Dutton's tombstone
Thomas Dutton’s tombstone

The area of the creek that we saw was at the confluence of the south and main branches of Cattaraugus Creek.

Valentine Flats: Cattaraugus Creek (https://thefarmingdaughter.com/2015/06/13/valentine-flats/)

Mason, Christopher, and Marcus
Christopher and Mason
The boys and I
The boys and I

This was the second hike that I used my new Columbia Vixen day pack. I am in love with it and hope to do a review post soon.

Valentine Flats: New day pack (https://thefarmingdaughter.com/2015/06/13/valentine-flats/)

The cliffs
Some of the cliffs in Zoar Valley are over 400 feet tall.

Marcus is going on a week long backpacking trip in July so he wore his new Jansport Klamath pack to test it out. Mr. Allan decided to try it on for size too.

Marcus and Professor Allan

While we were down at the creek we saw a group of white water rafters float past. It looked exciting and fun; I hope to do it some day!

Valentine Flats:  White Water Rafters in Cattaraugus Creek (https://thefarmingdaughter.com/2015/06/13/valentine-flats/)

Valentine Flats: Posing near the cliffs (https://thefarmingdaughter.com/2015/06/13/valentine-flats/)

Valentine Flats: Cattaraugus Creek (https://thefarmingdaughter.com/2015/06/13/valentine-flats/)

While we were hiking Mr. Allan, ever the instructive professor, amused and engrossed me by expounding on the difficulties the first settlers faced when journeying through these dense woods. He had me imagine what it would be like to be a pioneer wife traveling with my husband and several young children, with all of our scanty possessions in one wagon. It was much easier to envision myself struggling through this arduous terrain when I was actually walking in it myself.

How would one get a wagon and ox team down this hill?
How would you get a wagon and ox team down this hill?!

I also noticed these Red Trillium and Coltsfoot blooming. It was so nice to see flowers again finally!

Red Trillium
Red Trillium
Coltsfoot
Coltsfoot (Tuissilago farfara)

Valentine Flats: Hiking https://thefarmingdaughter.com/2015/06/13/valentine-flats/

I had a great time at Valentine Flats and would definitely recommend the trail to others!

-The Farming Daughter

Backpacking Adventure

Before I started reenacting my main passion/interest was wilderness survival. I would often try building shelters in the woods, making fires without matches, and identifying edible plants. I also loved to go backpacking with family friends. For about the past 3 years we haven’t been, so I was thrilled when Mr. Maybray invited me to go on a trip they were planning in September. This time my 13 year old brother Marcus came along too!

We hiked the Minister Creek Trail in Allegheny National Forest. The trail isn’t too long and the terrain is moderate, perfect for those of us who hadn’t been packing in a while and for the younger members of our group. The weather was perfect; neither too hot or too cold, without a drop of rain, and the fall leaves were starting to turn. We were only gone from Friday evening to Sunday afternoon, but it was a lovely little foray to get my backpacking feet wet again.

Our group standing by the trailhead map (minus Mr. Jeff who was taking the picture).
Marcus and I before hitting the trail. Look how tall he is!

The trail was dotted with huge rocks (some approaching the size of a house!), including a cave made of boulders and a giant rock ledge opening up to an overlook.

The rock cave.
The rock cave.
backpacking3
The trail climbing up to the overlook.
The overlook
The view from the overlook

backpacking7

Taking a break at the overlook.

The second night we set up near the creek. The water gurgling over the rocks was very soothing when I went to sleep.

backpacking12

My new tent worked great!

backpacking11

Mr. Jeff taught me a new way of hanging a bear bag, the Pacific Crest Trail (PCT) Method. It works great, and will definitely be my go to method from now on! (Click here to learn how to do it.)

I was rather proud of my bear bag hanging skills...what can I say, I'm easily amused :)
I was rather proud of my bear bag hanging skills…what can I say, I’m easily amused 🙂

I went ultra-light with my cooking set-up. I made an alcohol stove using, of all things, a cat food can! It may sound weird, but the stove boils water quickly, doesn’t require a pot stand, and weighs only 0.25 ounces! (I followed this tutorial to make mine.)


backpacking10
Boiling water for hot chocolate on the Super Cat stove.

backpacking13While hiking out on Sunday we stopped for a minute to take pictures at an old oil or gas pump house.

backpacking14

backpacking15

backpacking16

backpacking17

backpacking17
On the road home.

-The Farming Daughter