My Lyme Diagnosis Journey

Where to even begin?

I’ve lived with a variety of health issues for so long that I don’t even remember when they all started. When I was younger, I actually thought that everyone also lived in chronic pain and they were just better at hiding it than I was. I remember when I was around 12 years old standing at a trade show, marveling how everyone around me was able to stand without wincing in pain. 

By the time I finally came to the realization that my experience wasn’t normal and was able to convey that to my parents I was in my early teens. Doctors simply assured me and my parents that it was just growing pains and I’d age out of them (except even that explanation only answered one of my symptoms, LOL). When that didn’t happen my mom took me to a variety of other specialists (mainly attempting to address the chronic joint pain), but nothing more came from it other than a measly pair of orthotics (worthless). 

Adapting to my symptoms just became second nature: drink enough water, only eat certain foods, limit your exertion, don’t stand up too fast, rest every opportunity you can, don’t stand too long, don’t turn your head too fast. My family jokingly called me the “little old lady” or “granny” for how much my joints hurt and how I was always cold (my propensity towards knitting and rocking chairs didn’t help the stereotype). I’d have to take breaks in between washing a sinkful of dishes because my joints would hurt so bad and one time I honestly thought we were having an earthquake because my vertigo sent the room spinning so badly.  

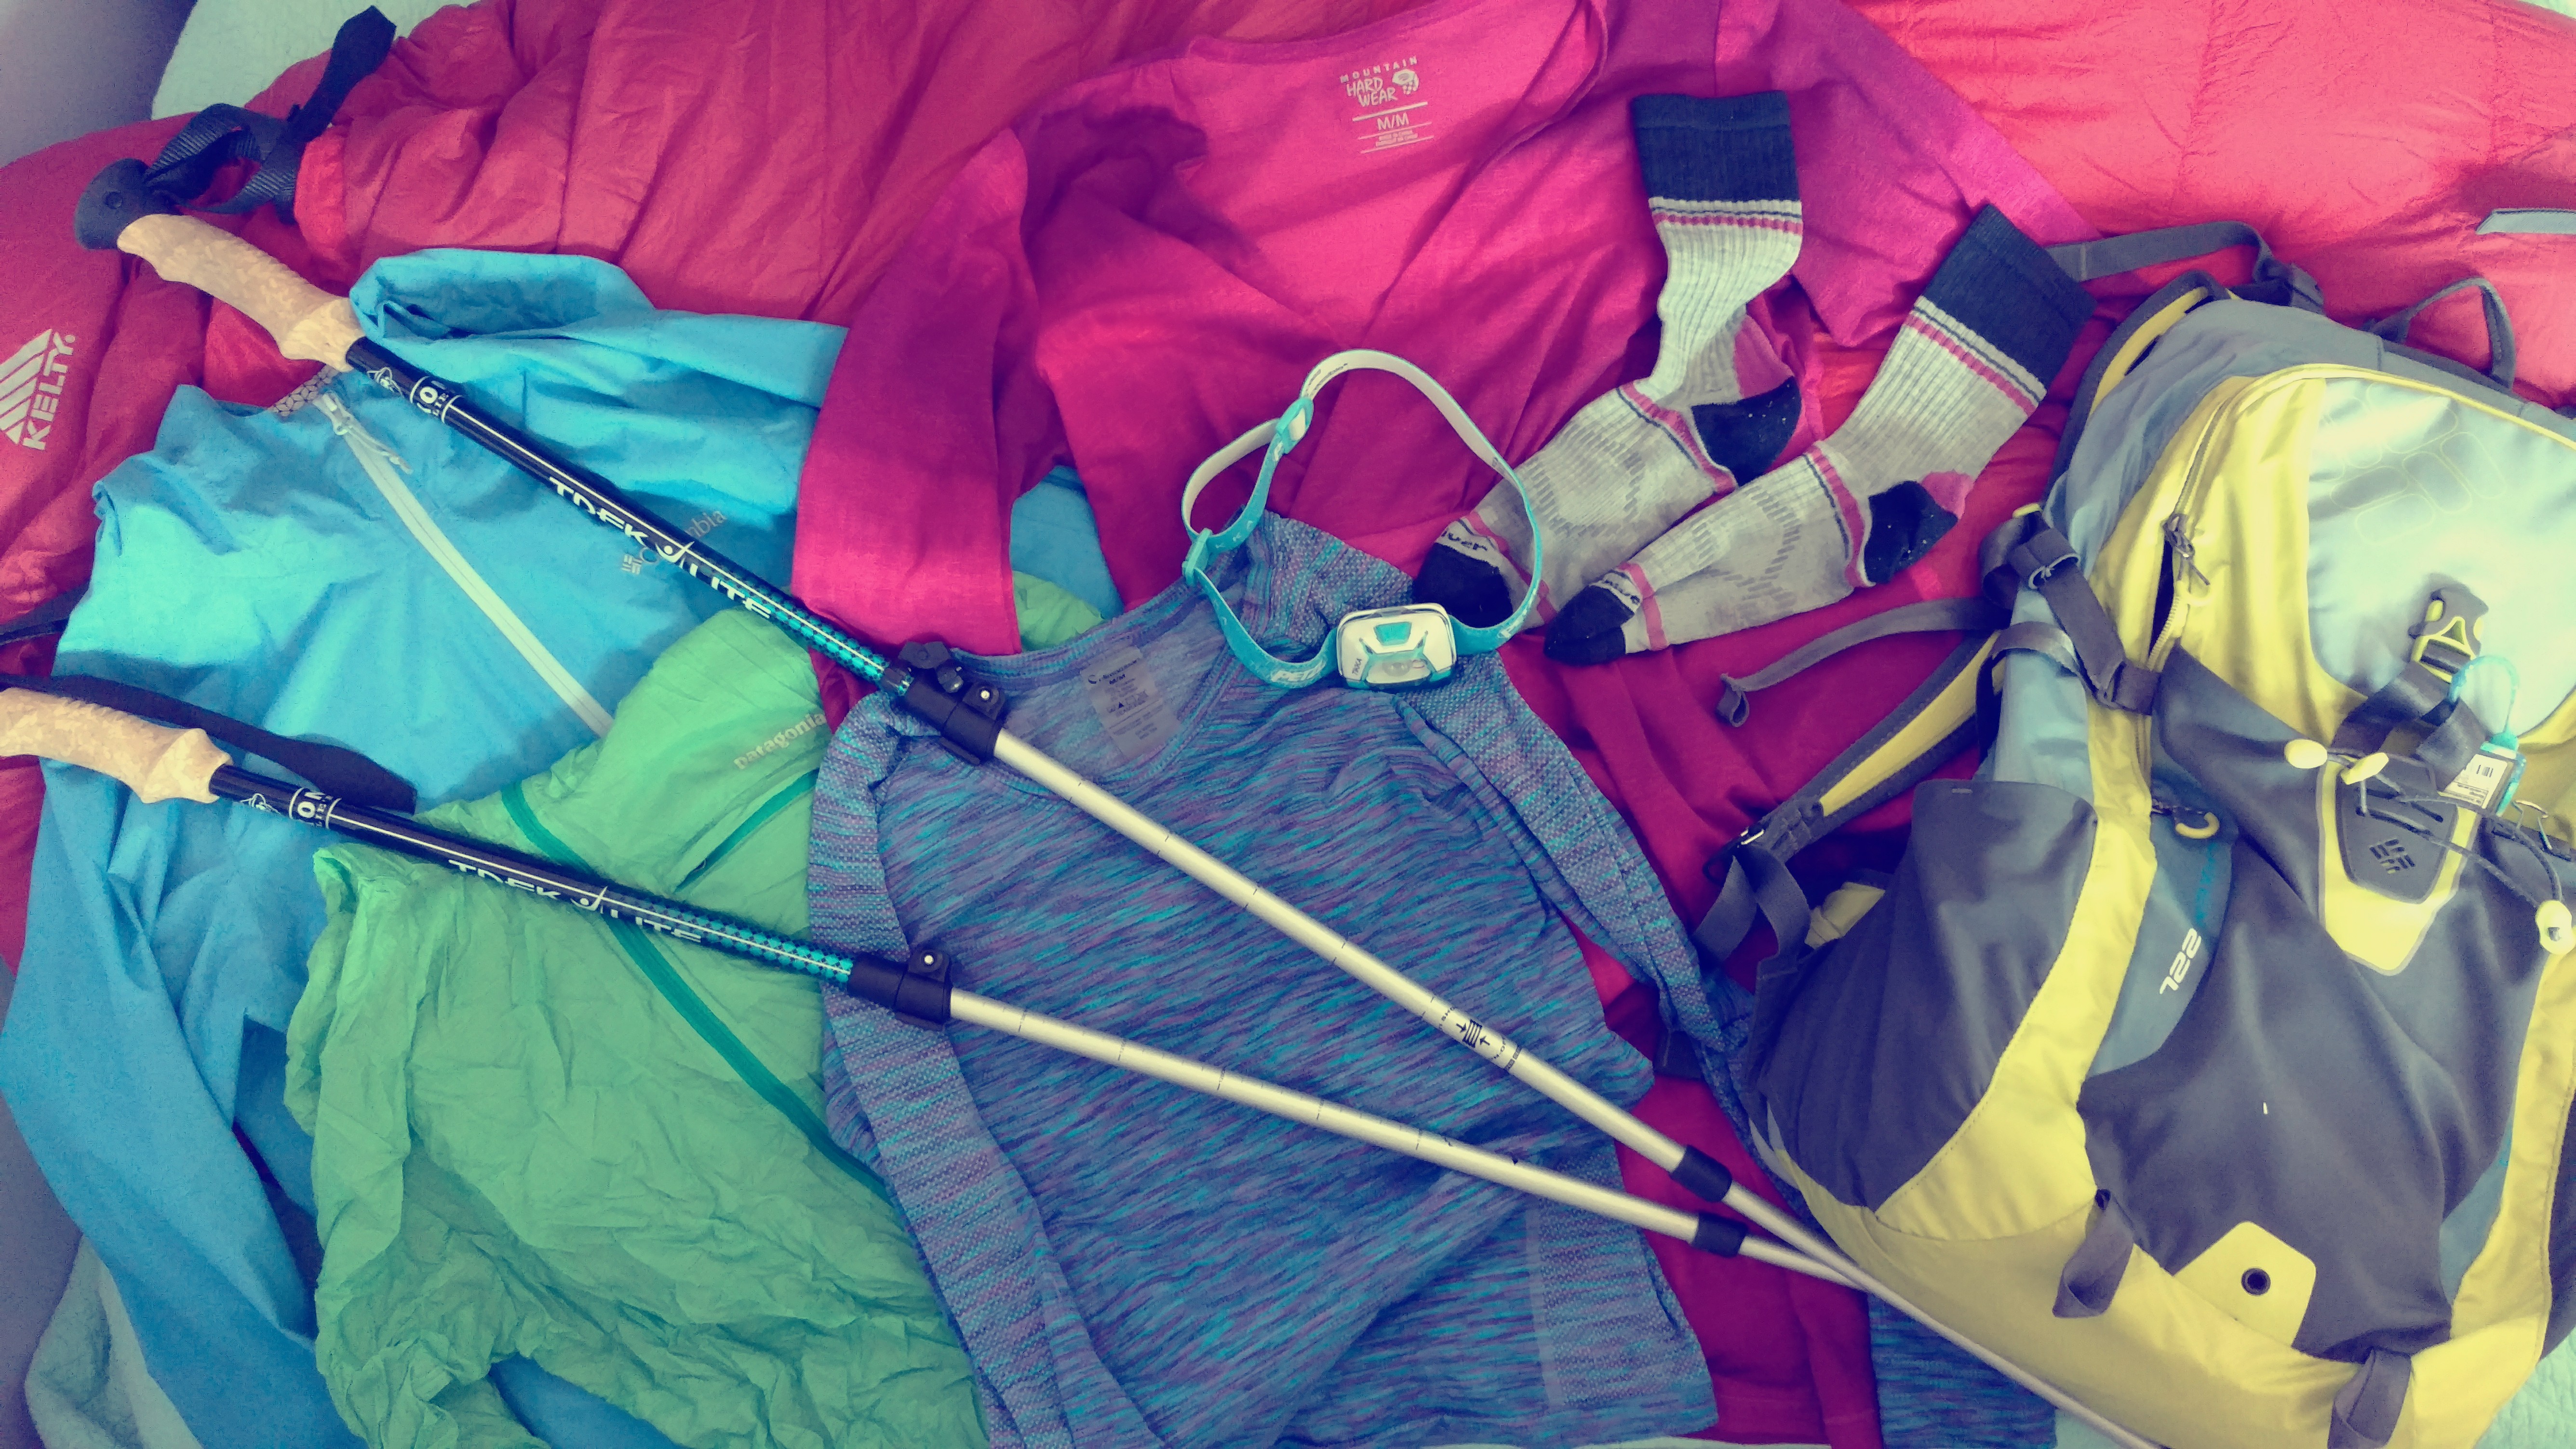
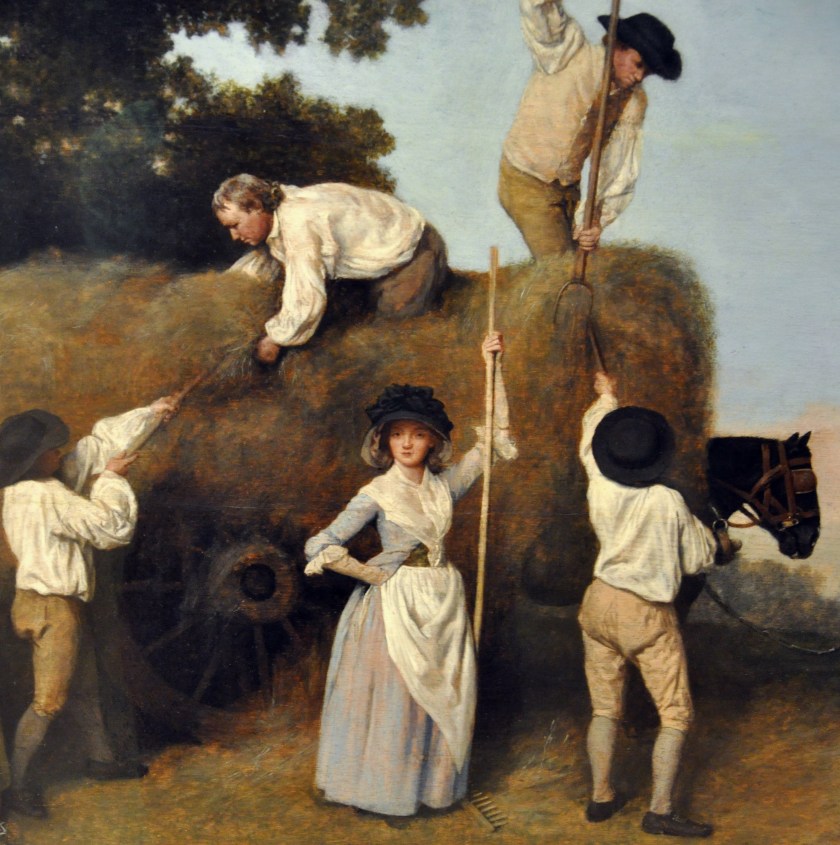
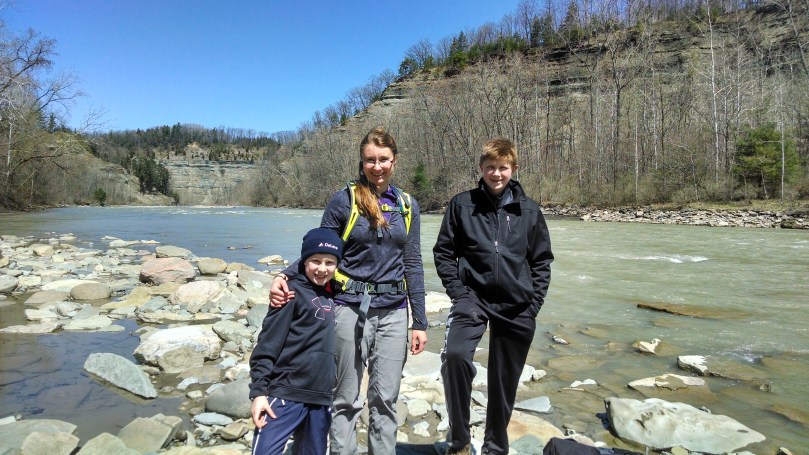
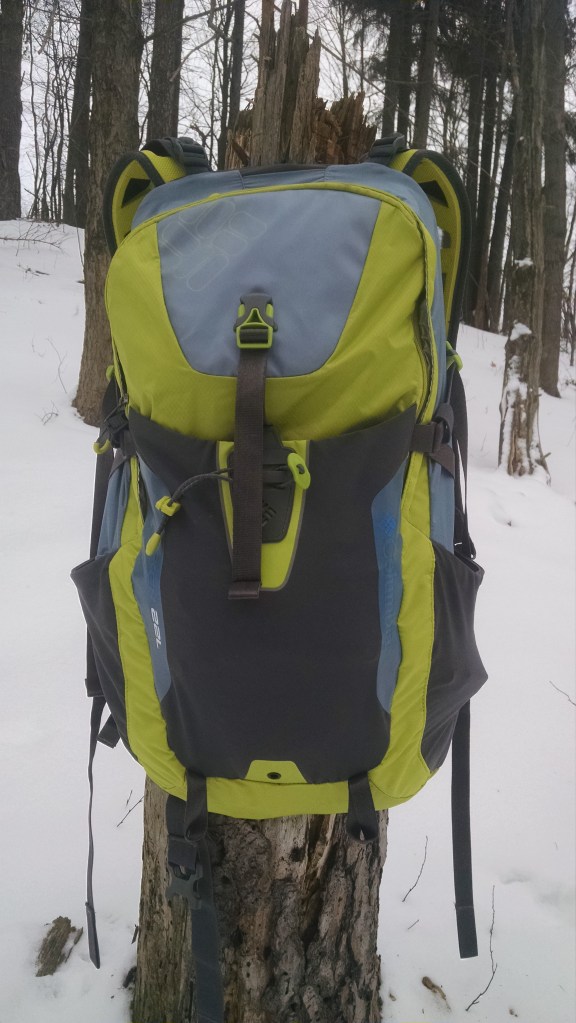
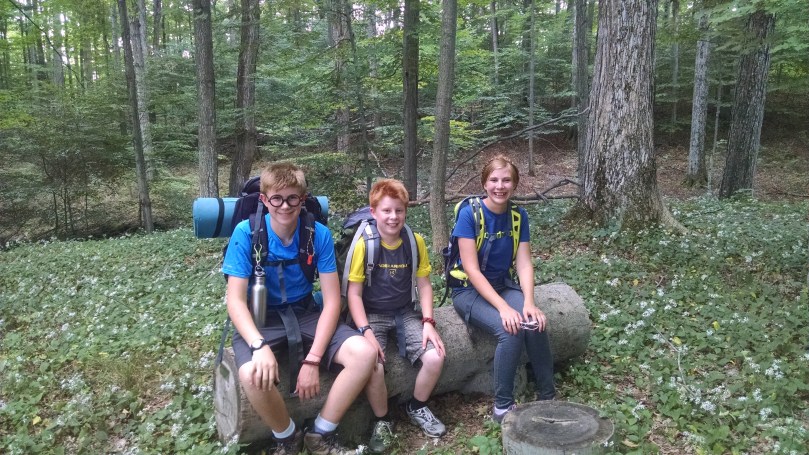
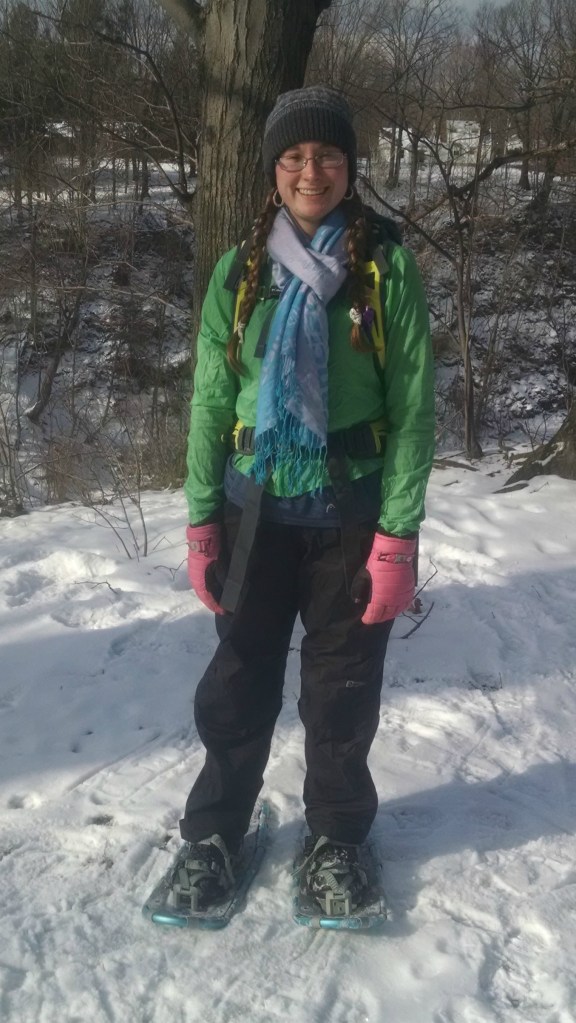
I continued pursuing my passions of working on our farm, hiking and backpacking, and historical reenacting. I think part of me still just accepted the pain as normal. Plus, there didn’t actually seem to be anything physically wrong with me and doctors said I was fine so I must be, right? 

Eventually by 2018 things had gotten bad enough that simply attempting to manage my symptoms wasn’t enough. I went to my GP and they ran a bunch of bloodwork, including, at my request, a test for Lyme disease. I had done some cursory research and really felt like my symptoms of chronic pain, GI issues, crushing fatigue, and balance issues (plus others) matched up. The PA acted rather incredulous, but ordered the test, almost as if she was humoring me. I remember being scared it would come back positive, but also, I was pretty sure it would. When the test came back negative I was honestly surprised and upset that I didn’t have my answer. The PA assured me that since the test was negative there was “zero chance” I had Lyme. Little did I know how wrong that was. 

The PA diagnosed me with a slight vitamin D deficiency and promised that a vitamin supplement would fix all my problems. It didn’t, so I made an appointment with the main doctor and brought my mom as back up. I felt like no one was listening to me or taking me seriously enough. 

To her credit, she did listen and put in a referral for me to see a rheumatologist. In the meantime, she started me on physical therapy. That summer I was working 2 part time jobs for a greenhouse and a flower farm. I’d come home after work and physical therapy so exhausted that I would literally fall asleep on the floor. 

Due to insurance woes I only met with the first rheumatologist once before having to find a new one. She sent me to rounds and rounds of testing: x-rays, joint sonograms, bone scans, and more bloodwork. Nothing came back conclusive, so she started treating me for “generalized arthralgia”, or, in other words, “general pain in a joint” (no duh). 

Her working theory was that I had rheumatoid arthritis, but it wasn’t developed enough to show up on testing. The treatment involved trying rounds of different pain killers and immunosuppressive drugs until one “stuck”. This, as it may be apparent, was a terrible idea, but I was still in my “trust the doctor and just do what they say” phase and I was eager for any kind of relief. Unfortunately, all these various drugs did was make me incredibly sick to my stomach, to the point where I couldn’t eat any food without getting instantly sick. I lost too much weight and none of my pain was mitigated. I had a reaction to one of the drugs that sent me to the ER, but I followed my doctor’s insistence that we just had to keep trying to find one that worked. 

August 2019 would be my last appointment and I had to bring a bucket with me as I drove there because I was so dizzy and nauseous. I told the doctor that none of these drugs were working and I still didn’t even have an actual diagnosis. I asked her what else we could do besides trying another random litany of drugs. She told me I had “fibromyalgia” and the only other thing we could try was injections of methotrexate. If I didn’t want that (and she strongly advised me that I should), then there was nothing she could do and I shouldn’t come back. So I didn’t.

The next 2 years involved long-distance dating my husband, buying and moving into our house, the craziness of 2020, getting engaged, and getting married. Moving into my own house made it a bit easier to alter my own diet and I tried cutting out various things in a desperate attempt to curb my chronic nausea, pain, and fatigue. I also learned more about the household products we use every day and started removing harsh cleaners and artificial fragrances from the house. None of it by itself solved anything, but I do think those are important pieces of the puzzle. 

The summer of 2021 I was listening to a homesteading podcast that interviewed a wellness practitioner who claimed to have healed her own fibromyalgia and chronic fatigue syndrome. She specialized in Epstein Barr Virus, a virus that actually a large percentage of the population has been infected with at some point, but for some individuals it becomes a chronic active infection. Her description of the symptoms seemed to line up, so after doing a bit more research, I signed up with her wellness program. 

They ordered a litany of tests including  a hormone test, gut microbiome test, food sensitivity test, and the Epstein Barr test. The EBV test came back negative, which was extremely discouraging, especially since the other tests seemed to show that something was off with my body. 

Again, I asked if it could possibly be Lyme disease. I knew Lyme is known as “the great imitator” for how it mimics so many other conditions, and I’d learned more since the first test and knew that false negatives were a thing. I’d even had a Lyme-type bullseye rash at one point so I sent a photo of that to one of the doctors, but he never got back to me. One of the other doctors thought it might be a possibility, but she didn’t know much about Lyme and so we kind of just moved on from it. 

I was put on many different herbal supplements and a very strict diet: no dairy, gluten, grains, sugar, tomatoes, lima beans, alcohol, yeast, cod, or eggs. It was very tough, but then they made it even tougher: absolutely zero carbs, like, zilch, nada. This was even more restrictive than a Keto diet and it made me extremely sick. I felt like I had the flu, my pain was even worse than normal, I was freezing cold, and incredibly nauseous and dizzy. I finally put my foot down and said this wasn’t healthy or sustainable for my body. 

It felt like we were at a dead end of both answers and treatments. I told (not asked) my doctor, “I want a Lyme test, and I want it to be the test I want” (not the cheap inaccurate one). Thankfully she listened to me and agreed. The only issue was, my doctor didn’t know much about Lyme or which specific test to order. I didn’t want to pay the thousands of dollars to get the whole panel of testing, especially since I knew that some of the tests were only for early stage infections, and mine was obviously not. I did a bunch of research, and probably annoyed David with all of my waffling back and forth. I finally settled on the Igenex Immunoblot IgG, and prayed that it was the right one. 

Before traveling to Cleveland for the test, I went to an infrared sauna, essentially in an attempt to make the bacteria angry so I’d have a stronger immune response for the test to pick up (that was the theory at least). I also rested less because I was so anxious and ready to just hurry up, get it over with, and know already. We drove to Cleveland on May 3rd, and had the quickest, fastest, most painless blood draw ever. 

After we got back home I felt like absolute garbage, and I anxiously checked my email for the results every day. Finally, on May 16th (a day I’ll never forget) I got the results email. It was positive. Five years after my first Lyme test, and over 15 years after I started noticing symptoms, I finally have at least one answer. 

Honestly, I wasn’t surprised at all by the results and seeing the positive test actually gave me relief. Even though I know chronic Lyme is quite tricky to treat, I’m thankful that at least now I know what I’m up against. It’s validating to know that it’s not “all in my head” and to finally have a name for my symptoms besides “I constantly feel like garbage”. 

I’m very grateful to my mom for harassing *cough*, I mean encouraging me to keep advocating for myself. Chronic illness definitely requires a lot of that from you. And I can’t thank my friend and fellow Lyme warrior, Hannah, enough for her incredible Lyme advocacy and support. Without her I don’t think I would have known enough about Lyme in order to pursue further testing, and she’s just been incredibly understanding and kind. 

Most importantly, I have to thank my husband David. From when we first started dating he prayed for my health daily. He’s been there on the mornings I’m so sore I can’t get out of bed, when I’m so nauseous I can’t eat, when my heart rate is going haywire and I can’t stand, when the depression of living in constant pain becomes unbearable. I wouldn’t have gotten a diagnosis without him insisting we do everything we needed to in order to find a doctor and testing. We still have a long road ahead of us, but with him by my side I know I can get through it.

I share all of this not for your pity and not to petrify you of ticks (but no, seriously, check yourself for ticks). I just want to share this journey to encourage others who are going through the same thing. If you’re also experiencing chronic illness, I believe you and I know you’re not making it up. And maybe this journey can be a little less lonely if we walk it together.

-Michaela

How to Save Money on Backpacking Gear

IMG_20180429_143941

John Muir, remarking on his minimalist approach to hiking, is quoted to have said, “I rolled up some bread and tea in a pair of blankets with some sugar and a tin cup and set off.” For safety and comfort’s sake you’ll probably want to be better equipped (the famous naturalist was practically starving to death, after all), but that doesn’t mean you have to make your bank account cry in the process. I’m a total gear geek, and love the latest and greatest offerings from backpacking retailers, but I also love finding a deal. True, backpacking gear can cost a pretty penny, but it doesn’t have to. You want to be sweating over that huge elevation gain on the trail, not how much you just spent on a sleeping bag. With that in mind, here are my top five tips for saving money on backpacking gear.

Shop intentionally

“Live life with purpose” may sound like a trite millennial tattoo, but it’s solid gear shopping wisdom. Sure, browsing aimlessly may lead you to deeply discounted gear, but without a goal in mind the temptation to impulse buy can be overwhelming. You may soon discover that solar powered portable tent air conditioner and boom box combo isn’t as vital as you first thought, even if you did get it for $50 off the MSRP. Instead, take an inventory of your current gear. Focus on the Big 3 first (pack, shelter, and sleep system). Prioritize which gear you actually need, and then start searching specifically for those pieces.

Also, just because you have older gear doesn’t mean you need to replace it. It may not have all the bells and whistles of newer models, but it can still be completely usable. Don’t toss gear just because it’s “old”. A simple repair job is all you might need to add several extra years of life to a piece of gear. Using what you have and only buying what you need will help stretch your backpacking budget.

Do your research

Once you’ve identified your necessary piece of gear, it’s time to research the life out of it. Researching helps you insure you’re investing in a piece of gear that will fit your specific needs. This can be done both generally and specifically.

For example, if you’ve determined you need a new daypack you can start by doing a general search for “daypacks” on gear sale sites. Look at different styles and brands. Determine which features are important to you, and which would just be nice but not necessary. Compare prices to get a baseline price.

After you find a few packs that seem to fit your needs and budget, zero in on researching those specific packs. When I found my Columbia Vixen 22L pack on clearance I  thought it looked like the perfect pack for me, but I read many reviews to learn the opinions of women who actually owned it. I did this by looking up reviews on the retail site I was considering purchasing from and by googling “Columbia Vixen pack review”.

Don’t forget to also check if there are any available discount codes or free shipping deals when you go to purchase.

Don’t be picky

Certain aspects of gear like fit, size, features, and weight are vital; while others such as color and brand, are not. Purchasing gear based on its functionality, and not by the frills can save you some serious cash. Both my Patagonia Houdini windbreaker and my Columbia rain jacket cost me less than normal, simply because I bought versions in last season’s colors. Is Kelly green really my fave color? Not particularly, but the bears don’t care and it saved me $50! Or, when I was searching for a new daypack I really wanted to get the Osprey Tempest, partially because I was caught up in the Osprey brand fever. By purchasing my Columbia I snagged a great piece of gear for much less, simply because it didn’t carry the Osprey logo.

Pay more

This may sound completely counter intuitive, but bear with me. Sometimes it’s worth it to make an investment in gear that will last for years, rather than making a quick purchase of cheap gear that dies after one season. The initial purchase price may seem expensive, but consider how long you expect the gear to last. You may turn white at the thought of spending $300 on a tent, but what if that tent lasted 10 years? That would be $30/year, compared to a $150 tent that may only last 3 years ($50/year).

Or perhaps the greater functionality and performance warrants spending more. I purchased my Osprey Ariel pack at full retail price, but I knew I wanted an extremely comfortable pack that wouldn’t leave me sore after a day on the trail. I decided that the perfect fit of the pack didn’t warrant quibbling over a few extra $$.

The key here is to follow Rule #2: do your research! Make sure this investment is a quality piece of gear that will fit your long term needs, and not a purchase you will regret in 6 months.

Don’t shop at backpacking stores

This is one of my favorite sneaky tips for saving cash on backpacking gear. Products marketed to a niche consumer are going to carry prices that reflect the high level of specificity. The trick is to start shopping outside of the niche.

I’ve had the most success with this in purchasing clothing. Companies may try to convince you through clever marketing that you must wear their pair of  specially designed “backpacking pants”, but really all you need is simple, comfortable clothing made from synthetics or wool. So instead of searching specifically for “women’s backpacking clothing” at a backpacking store, I instead search for “athletic wear” at a non backpacking store. Or I’ll even look out of the athletic department at garments made from the appropriate materials. (My favorite store for doing this is actually T.J. Maxx, it’s how my sis and Mom convince me to go shopping with them there 😀 )

You can do this with other pieces of gear as well, such as cooking equipment, food, and personal care items. Simply identify the key components of the piece of gear and then broaden the search area.


Through some thoughtful prioritizing, researching, and savvy shopping you can find excellent deals on backpacking gear. Remember, the main objective is not to have the flashiest, most technical gear, but to just get out on the trail!

What is your best advice for saving money on gear?

Extra tips

Buy an REI membership – For a one-time fee of $20, an REI membership includes bonus coupons, a yearly 10% back member dividend, exclusive access to REI garage sales, and co-op voting rights.

Put gear on your birthday list/ask for giftcards

Look for lightly used gear on gear swaps or eBay

Search for clothing in the athletic wear department of a thrift store

Sign up for a site’s newsletter to learn about sales and get coupons

Websites for snagging clearance items and sales:

REI Garage

Sierra Trading Post

Backcountry

Moosejaw

18th Century Linen Mitts – Research

the haymakers.jpg
The Haymakersdetail by George Stubbs, 1785

Last weekend I had a lovely time at Fort Dobbs participating in their War for Empire French and Indian living history weekend. I learned about 18th century shoemaking and tailoring, visited with friends, tried my hand at log hewing (not so easy in stays!), and soaked up some North Carolina sun – perhaps too much sun. Yup, it was inevitable that the pasty white ghost would get a sunburn after being sequestered in six months of darkness up North. Thankfully all of those 18th century clothing layers and wide brimmed bonnets protected the majority of my lily skin, but my exposed forearms turned a nice shade of tomato. 

Fort Dobbs wood chopping
The camp follower before the sunburn.

After that happened, the obvious question was, “What is the 18th century solution to this problem?” Of course sunscreen is a perfectly viable (21st century) option, but I don’t like to have to carry around and conceal modern items and I usually forget to reapply it enough anyways. Thankfully there is a period alternative that solves my problem: linen mitts.

If you follow @girloncampaign on Instagram you might have seen my posts about my knitted wool mitts I made. Those, like other knit and sewn mitts of the 18th century, were constructed from wool, silk, or leather for warmth purposes, but I have also found references to linen mitts for sun protection. I hope to make a pair soon, but in the meantime I’d like to collect my primary source references and extant garments here for inspiration.

Extant garments:

linen mitts museum rotterdam
“Paar mitaines van ongebleekt linnen met wit borduurwerk op de rug” (Pair of mittens of unbleached linen with white embroidery on the back) Museum Rotterdam, accession #20890-1-2

linen mitts MET C.I.44.8.9a, b
Linen mitts, probably European, The MET, accession #C.I.44.8.9a, b

linen mitts MFA 43.1968a-b.jpg
Pair of light brown linen mitts, Museum of Fine Arts, accession #43.1968a-b

An earlier pair of mitts believed to have been made in India for the western market. Linen plain weave with silk embroidery. LACMA, accession #M.80.43.4a-b

A later pair of mitts, MET, accession #2009.300.1685a, b

Primary references: 

The Proceedings of the Old Bailey: Elizabeth Clemens, William Smith, 9th December 1761, reference #t17611209-8:

“Elizabeth Clemens, otherwise Smith, was indicted for stealing…two pair of white thread mitts, value 2 s.”

The Proceedings of the Old Bailey: Samuel Lane, Esther Lamb, 10th January 1781, reference #t17810110-30:

“Samuel Lane and Esther Lamb were indicted for stealing…two pair of linen mitts, value 6 d.”

The Proceedings of the Old Bailey: Henry Abel, 22nd February 1781, reference #t17810222-29:

“Henry Abel was indicted for stealing…two pair of linen mitts, value 5 s.”

“Wives, Slaves, and Servant Girls” by Don N. Hagist, entry # 316:

“She stole and carried off with her…one pair of white cotton mitts.”

Based on what I’ve unearthed so far, linen mitts seem predominantly to be made from white or unbleached fabric, but constructed in a similar manner to silk or wool fabric mitts. I plan on constructing my own pair, but Penny River makes lovely recreations for those inclined to purchase a ready made pair.

Various patterns are available:

Larkin & Smith Mitt Pattern

“Costume Close Up:  Clothing Construction and Pattern 1750-1790” by Linda Baumgarten, pg. 72-74 (the pattern is also available for free without the construction notes on the Making History blog)

“The American Duchess Guide to 18th Century Dressmaking” by Lauren Stowell & Abby Cox, pg. 60-63

18th Century Pockets

D2s2v1505250627

My first item of clothing for my Rev War camp follower kit is completed… a pair of pockets!

Most women, myself included, lament the utter uselessness or total lack of pockets in our garments. Too bad we don’t still use 18th century style pockets! Unlike their modern counterparts, 18th century women’s pockets are roomy and actually functional! Instead of being attached to the garment they are instead suspended on their own waistband/ties. This allows you to change gowns without having to transfer all of your pocket contents and also keeps the pocket from weighing down the skirt. Pockets were accessed through slits in the sides of the petticoats. They could either be a single pocket, a matching pair each on their own set of ties, or a matching pair on one set of ties. To reduce bulk and to prevent me from losing one of my pocket’s mates I chose the latter style.

Many pockets of the 18th century were elaborately embroidered, while others were a pieced patchwork design or printed textile.

pockets museum of london.jpg
An elaborately embroidered pair of late 1770s pockets from the Museum of London (Museum number: MOL 35.35.2)

There are less surviving plain style pockets, but the examples I could find were the inspiration for my pockets, including this simple linen stripe pocket from the MET:

Pocket the met
1789 linen pocket from the MET (Accession Number:
C.I.40.159.4)

I have to give credit to my dear David. He drafted the pocket pattern piece for me, gave me almost all the fabrics and supplies I needed, and even cross-stitched my initials for me!

IMG_20170908_215639541.jpg
Part of my pocket “kit” from David 🙂

The front of the pockets is a lightweight stripe linen that I flat-lined with a scrap of handkerchief linen I had on hand, just to give it some body. I basted these two layers together before binding the pocket slit with a 1″ strip of blue plaid linen. The binding is back-stitched with a scant 1/4″ seam and then folded over to the wrong side and whip-stitched down to encase all of the raw edges.

Most examples I saw had a plain linen back, so I used a medium weight white linen I had on hand. I basted the front and backs of the pockets together and then bound the edges with more of the plaid linen.

IMG_20170912_142518570 (1).jpg
The backside of my pocket

I tacked the linen ties onto the top edge of binding before folding it over to the wrong side and whip-stitching it down.

IMG_20170912_142427629.jpg
Detail of pocket binding and linen ties

18th century pockets, just like their modern counterparts, were useful for keeping necessary items handy and personal items safely on your personage. I plan on using one pocket to hold small items I’ll need during an event as a camp follower such as a sewing kit, knife, small pair of scissors, handkerchief, food, brush, etc. The other pocket I’ll use to secret modern items like my car keys, modern cash, and contacts. I can’t wait to get the chance to use them!

-Michaela, “The Farming Daughter”

Just the basics:

Fabric: 1/4 yard blue stripe linen, 1/4 yard handkerchief white linen from Burnley and Trowbridge, 1/4 yard medium weight white linen, 1/8 yard blue plaid linen

Notions: cotton hand sewing thread (shhhhh…), colored linen thread, 1 yd. linen 1/4″ linen tape ($1)

Year: 1770s

How historically accurate is it?: There aren’t as many surviving examples of plain and simple pockets, but the materials and shape are authentic, they’re 100% hand sewn, and constructed in the same manner as a pair of pockets in Colonial Williamsburg’s collection. I should have used linen thread, but other than that I’d say it’s pretty good.

Hours to complete: 10

First worn: Just to try on when finished

Cost: Technically free (because David!), but I’d guess about $15 worth of supplies

Why Reenact British?

Why Reenact British https://thefarmingdaughter.com/2017/04/06/why-reenact-british

The uncertainty was clear in Mom’s voice. “You’re going to reenact British? Why would you want to do that?” It was a fair question. I had, after all, just announced I was going to start reenacting the Revolutionary War…on the side of the “enemy”.

I have reenacted the 19th century and the American Civil War for over five years. Most of the time I portray a Northern civilian on the side of the Union. This year I decided to branch out into reenacting the 18th century and the Revolutionary War. I am currently researching and sewing to develop a British camp follower impression, a woman who followed the army to lend support through cooking, doing laundry, sewing, and nursing. So why did I decide to portray what is usually viewed as “the bad guys”?

Besides wanting to participate with some of my friends who reenact British, there are several reasons why I chose to side with the Redcoats for my first 18th century impression.

I want to reenact British because…

1.) …someone has to portray them!

You have to admit, it would be a pretty lame reenactment if the brave Continental soldiers and American militia marched out to do battle with no one! There are two sides to every conflict and it’s necessary for reenactors to be willing to rally ’round the King’s Colours as well as the Continental banner.

2.) …I want to accurately tell their story.

It has been said, “History is written by the victors.” As Americans it’s understandable that we would like to glorify and emphasize our side of the story. However, I think the British narrative deserves to be told as well. To gain an accurate picture of the war we need to look at the events from both the American and British perspectives. I hope through my portrayal I will be able to negate some of the common misconceptions and bias surrounding the British.

3.) …I want to humanize them. 

This somewhat goes along with #2. Since the British were on the opposing side we tend to brand them as vengeful monsters. History is not as cut and dried as “good guys” and “bad guys”, however. There were men who acted honorably and those who acted deplorably on both sides. I want my persona to bring the British to life, to make their motivations, hopes, desires, and struggles relatable.

4.) …I might have been one in the 18th century.

Before the Revolutionary War, the 13 colonies belonged to Great Britain and the colonists themselves were British subjects. At the time, rebelling against England was viewed by some as a treacherous and foolish decision, essentially turning traitor on your own country. Even if you disagreed with some of England’s policies, that didn’t necessarily mean you were willing to take the radical step of revolution. With the perspective of time it’s easy to unhesitatingly claim that we would have sided with the Patriots, but that might not have been the case.

5.) …they had more camp followers.

Both the American and British armies had women camp followers, but the Crown forces tended to have a higher ratio. It is entirely appropriate to portray a follower of either army, but the description of the British with their “Herds of Women” makes it especially relevant to portray one. The double benefit is most of the clothing I will be sewing for my British impression will translate to an American impression as well.


It had been suggested to me that portraying the British will disrespect the sacrifices our founding fathers made. I believe the contrary. Accurately and knowledgeably representing the British will only further show how truly amazing the American victory was over the super power of Great Britain. I’m excited to begin this foray into a new historical portrayal!

What do you think of reenactors portraying “the other side”? If you are a reenactor, what made you choose your particular persona?

-Michaela “The Farming Daughter”

(Post image: detail of “The Relief” by William Dickinson after Henry William Bunbury, 1781)

Should I Use Trekking Poles?

The Farming Daughter Blog: Should I Use Trekking Poles? (https://thefarmingdaughter.com/2017/02/20/should-i-use-trekking-poles)

Should I use trekking poles?

As I started hiking more frequently I remember asking myself this very question. It seemed like the mark of a thru hiker was a pole in each fist, and if the “professionals” were using them, then I should as well, right?

On the other hand, I’m not a very graceful person so if I couldn’t even walk without tripping over my own feet how would I manage while worrying about two extra sticks? Plus, would the benefits of trekking poles outweigh the hassle of not having my hands free to snack while walking or snap a pic? And I have to admit, I was secretly afraid of projecting a facade of more hiking expertise than I actually possessed.

These concerns, coupled with a reluctance to spend money on something I might end up disliking kept me from buying trekking poles. Thankfully, my sweet mother made the decision for me and bought me a pair for my birthday last year. After using them on almost every hike I’ve gone on since then (including snowshoeing) I’d like to share my reasons I think you should at least give trekking poles a chance.

1. Trekking poles give you stability.

The first 5 minutes of using my trekking poles I doubted I would like them. I seemed to knock them against every root and stone in my path and they felt awkward and cumbersome in my hands. So much for supporting me, I thought. These things trip me up more than they help. Good for me I didn’t quit, because I quickly picked up the rhythm of stepping with my feet and swinging my poles. Once I was in the groove, I soon realized how helpful my poles were at keeping me from stumbling. They provide two extra points of contact with the ground that help to keep my balance. They also work splendidly to help you feel more secure on steep downward descents.

2. Trekking poles put your whole body to work.

Hiking is essentially walking long distances in the woods. It’s great for giving your lower body and cardio a workout, but no so much the rest of your body. That is, unless you use trekking poles. Using trekking poles causes you to engage your arms and upper body, giving you an awesome full body work out.

3. Trekking poles help you to power through challenging parts of the trail.

Because you now have your arms and upper body engaged while hiking it makes it easier hiking through steep or challenging sections of the trail. I have often found my poles are just the extra “boost” I need to assist me up a daunting incline.

4. Trekking poles take stress off your knees and lower joints.

Since your whole body is engaged while using trekking poles the impact is also distributed. Ironically, for being an avid hiker I have problems with feet, leg, and knee pain. Using trekking poles makes my arms and upper body go to work and helps take some of the stress off my knees and lower joints. I really wish I had used trekking poles on my September 2015 backpacking trip when I was hiking on a sprained ankle!

5. Trekking poles are multi-purposed.

Trekking poles aren’t only for helping you to walk! They work great for sounding out the depth of creeks or snow. There are some ultra-light tents that shave weight by using your trekking poles as the poles to hold up your shelter. You can purchase camera mounts that attach and turn your trekking poles into a mono-pod for photography. And lets all admit, who doesn’t feel at least a bit more protected from predators with two sturdy sticks in their hands?

And finally…

6. Trekking poles help you to hike faster.

The combination of stability, a fully engaged body, assistance on precipitous parts of the trail, and decreased hiking pain naturally means you’re going to hike faster. Granted, speed isn’t everything, but sometimes I appreciate being able to maximize my time in the outdoors and cover more ground.

Is there any time when you shouldn’t use trekking poles? If you’re planning on walking at a more leisurely pace trekking poles aren’t always necessary, when you’re going to be doing an activity that requires the use of your hands (such as photography) it might be best to leave them at home, and if you’re in a group walking close together poles might get in the way of others.

If you’re still not fully convinced that you need trekking poles and are hesitant like I was to drop the dough on them, I recommend you start out with a cheaper pair just to give them a try. I was pleasantly surprised with how well my Yukon Charlie’s Trek Lite Anti-Shock Poles worked! So far they’ve proven very durable, it’s relatively easy to adjust the length, and for only $50 they surprisingly still have the high-end feature of cork grips. You can find them here, or search on Amazon.com where certain colors are even cheaper.

my-trekking-poles

I hope this post has convinced you to at least give trekking poles a chance, but whether you prefer a pole in each hand, your trusty walking stick, or to just let your arms swing free, the important thing is to get out there and go hiking!

What is your experience with trekking poles? Have you ever tried a piece of gear and wondered where it had been all of your previous hiking life?

-Michaela “The Farming Daughter”

Tarnished Knights

The Farming Daughter Blog: Tarnished Knights Poem ( https://thefarmingdaughter.com/2016/10/25/tarnished-knights/)


A recent conversation was the catalyst of inspiration for another poem.

What happens when our role models let us down? What happens when we grow up and discover that “super heroes” don’t exist, and things aren’t as good as they first seemed?

I think everyone has at least one point in their lives when they are personally slapped with this reality. As I contemplated, I decided we have two options: We can either allow ourselves to become disillusioned and cynical, or we can realize that every human, including ourselves, is inherently flawed and in need of a Savior. How blessed are we to have His grace made freely available to us!

“for all have sinned and fall short of the glory of God, and all are justified freely by His grace through the redemption that came by Christ Jesus.” -Romans 3:23&24

Tarnished Knights

Oh for the days when I was young and heroes were still real,
And gallant knights still dashed away in shining suits of steel,
When I viewed the world through child eyes and all seemed fair and right,
While my heart was full of confidence and belief burned ever bright.

How did I lose this rosy lens through once the world I saw?
When I only noticed noble deeds, without their twist or flaw.
Why has my champion fallen from his pedestal on high,
And left me disillusioned and my admiration dry?

T’would be simpler, I should think, if from youth we never grew.
Faith would be an easy thing if we never knew,
How swiftly mighty warriors to temptation weakly yield,
And those we marked as soldiers brave flee like cowards from the field.

The harshest teacher, Experience, has stripped my naiveté,
And changed my sunny morning into an afternoon of gray.
Those that once I trusted, whose ways I thought the best,
Now the simple act of honoring has itself become a test.

But hear a Voice that calls to me, “Trust not in princes that can’t save!”
“In mortal men who soon depart and return back to the grave.”
“Believe instead in the Holy One Whose goodness faileth never,”
“And Whose faithfulness will reign on high, Whose mercies last forever.”

Now, perhaps, I start to see, how this pain He works for good,
For I also am a sinner and often fail more than I should.
And this truth that holds for tarnished knights holds just the same for me,
Placed beside my wretchedness, the more amazing His grace will be.

-Michaela Richmond, “The Farming Daughter”

Monday, October 24, 2016

Quilted Petticoat

Quilted Petticoat ( https://thefarmingdaughter.com/2016/08/11/quilted-petticoat/) 3

It only took me 1 1/2 years to sew and 1 1/2 years to blog about, but here is my quilted wool petticoat! In 2013 I met a lovely lady named Judy at the Genesee Country Village Civil War reenactment. During a rainstorm I ducked into George Eastman’s (the founder of Kodak) boyhood home where Judy was demonstrating hand quilting. She kindly offered me both shelter and a lesson in her craft! I had a most enjoyable time and decided to start my own quilting project after the reenactment.

I determined on making a quilted petticoat because: 1.) I already had the wool flannel fabric I needed, 2.) I always get cold at events, and 3.) A petticoat is hidden under your skirts so no one would see my beginner stitches 😀 I was inspired by the quilting design on this original silk quilted petticoat from thegracefullady.com:

(from thegracefullady.com)

(from thegracefullady.com)

I decided on 3 horizontal quilting lines at the bottom of the petticoat, a chunk of shell design, 3 more horizontal lines, then the diagonal lines. The main body on my petticoat is three layers: red wool flannel from fabricmartfabrics.com, wool batting, and a cotton sateen lining. I almost wish I had used polished cotton and silk taffeta. It would have been more expensive, but for the amount of work that went into the petticoat it would have been worth it.

I couldn’t really tell from the photos how high the diagonal quilting lines went on the original petticoat, but I had decided to make my petti with a cotton yoke (to reduce bulk) so I made the lines extend all the way up the main body. The wool batting only goes up 2/3 of the body and is a sheet of batting peeled apart to make a thinner layer (I think separated once, and then separated once again to make the batting 1/4 of its original thickness). The yoke is a straight yoke, meaning it is the same circumference as the body of the petticoat (90″).

Before I could begin quilting I partially assembled the petticoat. I sewed 1.5 panels of the 60″ wide red wool flannel together to make a tube 90″ in circumference. I then sewed the cotton sateen on the bottom edge of the petticoat, right sides together, lapping the edges and sewing the last side seam when I reached the end (just like sewing on a faced hem). I laid the red flannel on my ironing board, right side down, and spread my thin layer of batting over it. Then I smoothed up the sateen lining on the wrong side, sandwiching the batting between the two layers of fabric. Using large, sloppy stitches I basted all over the petticoat to hold the three layers in place while I quilted.

To mark the quilting design I used an air and water dissolving marking pencil. I cut the shell pattern out of a sheet of plastic quilting template and just used a ruler for the horizontal and diagonal lines. Since my pencil lines would dissolve after being exposed to the air for awhile I only marked out the section of quilting as I was working on it. I used a large embroidery hoop to hold the petticoat as I was quilting. I chose to go with a contrasting colored thread and used black hand quilting cotton thread that I lightly waxed with bee’s wax. I found a thimble most indispensable!

Since this was my first hand quilted project you can actually see the progression of how my stitches got smaller and neater as I went on.

Quilted Petticoat ( https://thefarmingdaughter.com/2016/08/11/quilted-petticoat/) 5

Quilted Petticoat ( https://thefarmingdaughter.com/2016/08/11/quilted-petticoat/) 6

After the quilting was finally done, I attached the straight yoke, hand gathered the waist, attached and hand finished the waistband, and put in a buttonhole and china button.

I might still add some wool hem tape to protect the bottom edge and also reset the waistband since I made it (as usual) too large. Overall though I’m quite pleased with the finished results! The wool does a beautiful job insulating and blocking the wind, but since it’s a natural fiber the petticoat is still comfort to wear up to the mid 60s. The three layers and the quilting give the petticoat a nice fullness and when worn under a dress your skirts have that lovely “boof” of the period. Thank you again to Judy for teaching me this practical and beautiful skill!

Quilted Petticoat ( https://thefarmingdaughter.com/2016/08/11/quilted-petticoat/) 7

Fabric: wool flannel, wool batting, cotton sateen, pima cotton

Notions: black cotton quilting thread, 1 china button

Pattern: drafted my own

Year: 1840s-1860s

Notions: white cotton thread, black cotton quilting thread, white china button

How historically accurate is it?: The petticoat is constructed using period techniques and the quilting design is taken from an original petticoat. It might have been a tiny bit more accurate to use polished cotton instead of cotton sateen, but I’m satisfied with the authenticity.

Hours to complete: I did the quilting over a period of 1 1/2 years so I have no idea. It’s probably in the 150-200 hour range.

Total cost: about $50

First worn: Snowshoeing in my Civil War garb, and then at the 150th Appomattox reenactment

-Michaela, “The Farming Daughter”

Columbia Vixen 22 Pack Review

The Farming Daughter: Columbia Vixen 22 Pack Review ( https://thefarmingdaughter.com/2016/01/24/columbia-vixen-22-pack-review/)

I admit it. I’m a total backpacking gear geek. So it’s entirely normal for me to quote tent statistics, argue the benefits of down versus synthetic insulation, and gush about pack suspension systems. But when I was still waxing poetic about my Columbia Vixen 22L Daypack almost ten months after I bought it, I knew I was completely smitten.

The Farming Daughter: Columbia Vixen 22 Pack Review ( https://thefarmingdaughter.com/2016/01/24/columbia-vixen-22-pack-review/) 10

I purchased this pack from REI in the beginning of April. I was looking for a comfortable fitting pack that was large enough to carry the essentials for a day hike, without being overkill. Since then I have used it in a variety of conditions including: snow hiking in the spring, my trip to Valentines Flats, snowshoeing this winter, and even lending it to my sister to use. The pack has proved to have exactly the features I need, without any superfluous ones that I don’t.

The Farming Daughter: Columbia Vixen 22 Pack Review ( https://thefarmingdaughter.com/2016/01/24/columbia-vixen-22-pack-review/) 2
Using the Vixen at Valentine Flats this spring

Let’s break down what I love about this pack, and the few things that could use some improvement.

Features

The Columbia Vixen 22L is a women’s specific daypack with a 22 liter capacity. It has one main panel loading compartment, a small zipper pouch at the top, a stretchy stuff pocket on the front, and two water bottle pockets on the sides. There is also a water bladder sleeve in the main compartment and two zipper pouches on the hipbelt.

The Farming Daughter: Columbia Vixen 22 Pack Review ( https://thefarmingdaughter.com/2016/01/24/columbia-vixen-22-pack-review/) 9

I read some complaints that the pack wasn’t divided into smaller sections for organization, but personally I found the compartments it did have worked well. I tend to use the small zipper pouch for important items like car keys, cell phone, money, ID, and a headlamp. The main compartment I organize by using a small dry sack for first aid & survival gear, and a medium dry sack for extra clothes. The outer stretchy pouch is perfect for frequently used items or wet and dirty clothes that you don’t want inside your pack.

The Farming Daughter: Columbia Vixen 22 Pack Review ( https://thefarmingdaughter.com/2016/01/24/columbia-vixen-22-pack-review/) 5
Small zipper pouch on the top of the pack: perfect for storing small items like car keys and your phone

The 22 liter capacity is not huge (especially when hauling extra winter gear), but it is sufficient. I like that the pack is hydration system compatible, but make sure you insert your water bladder before your other gear, otherwise it can be a pain to slide it into the sleeve.

The back of the pack is a “trampoline back” which means that your back is held away from the back of the pack by a piece of aerated material.

The Farming Daughter: Columbia Vixen 22 Pack Review ( https://thefarmingdaughter.com/2016/01/24/columbia-vixen-22-pack-review/) 3
The trampoline back creates a gap for increased ventilation and airflow

I love this feature because the resulting gap between the pack and yourself almost completely solves the uncomfortable “sweaty back” problem!

The shoulder straps and waist belt are also designed to keep you cool with Columbia’s innovative combination of comfortable Techlite™ foam and mesh.

A built-in whistle on the sternum strap buckle and a system to store your trekking poles when not needed were nice touches. I’m still a little dubious, however, of the Silverback™ reflective lining that, supposedly, “allows you to easily see inside your pack”.

The Farming Daughter: Columbia Vixen 22 Pack Review ( https://thefarmingdaughter.com/2016/01/24/columbia-vixen-22-pack-review/) 4
Back view of the pack

Fit

I would probably say that the comfort I feel while wearing this pack is its number one selling feature for me!

This was the first pack I ever bought that had a women’s specific design, and when Columbia says “women specific” they don’t just mean “shrink it and pink it”. The way this pack wraps around my curves and hugs my back without flopping, bouncing, or shifting makes me happy just to think about it! The weight is placed squarely on your hips so the shoulder straps don’t even touch the tops of your shoulder! It practically feels like it’s levitating when I wear it.

The Farming Daughter: Columbia Vixen 22 Pack Review ( https://thefarmingdaughter.com/2016/01/24/columbia-vixen-22-pack-review/) 8
Trying out the pack for the first time in April 2015…after one mile the comfort of the pack had me sold!

I do have a warning though, for my petite backpacking sisters… I have to wear this pack with the waist belt tightened almost as far as it will go; my sister Addison wears it tightened all the way. So if you are very slender you might want to pass on this pack…you won’t be able to tighten the waist belt enough and all of the pack weight will be placed improperly on your shoulders.

The Farming Daughter: Columbia Vixen 22 Pack Review ( https://thefarmingdaughter.com/2016/01/24/columbia-vixen-22-pack-review/) 6
Addison using the pack during our backpacking trip in September. She loved it so much I almost didn’t get it back from her!

Durability

While this pack has held up fine for me, I would be a little hesitant to recommend it to anyone who is rough on their gear or who will be packing in areas with sharp brush or rocks. The fabric of the pack is strong for holding gear, but quite thin, and I’m afraid it could be easily punctured. The stretchy front and side pockets make me suspect they could be snagged on bushes. Case in point, don’t drag this pack over scree or run through a briar patch with it (not that I would recommend doing this with any pack!) Let’s just say I am infinitely glad I chose not to take this pack on my caving expedition in May!

Price

The manufacturer’s suggested retail price for this pack is $129. Comparing it to similar models (like the Osprey Tempest 20) I would say this pack is comparably price for its market. Catching this pack while on clearance and combining it with a coupon, however, helped me to snag the Vixen for a cool $44.73, which for the comfort level and functionality was a steal in my opinion!

Conclusion

The Columbia Vixen is an extremely comfortable pack designed with women in mind. The pack has the perfect amount of space for an all-day summer hike, or a lightly packed winter snowshoe trip. The ventilation system is top notch, and the easily accessible stuff pouch, hip belt pockets, and trekking pole loops put this pack at the top of the line. However, petite individuals or gear abusers might want to steer clear.

The Farming Daughter: Columbia Vixen 22 Pack Review ( https://thefarmingdaughter.com/2016/01/24/columbia-vixen-22-pack-review/) 7
Using the Columbia Vixen while snowshoeing

Where to purchase

Most unfortunately, I bought this pack on clearance because Columbia was discontinuing it. Why they would scrap such an excellent pack is beyond me and I will be on the lookout to see if they start offering a new design with comparable size and features. In the meantime, if you see this pack on eBay or a gear swap I recommend grabbing it!

-Michaela “The Farming Daughter”

Note: This pack was purchased for my own personal use. I was not paid or compensated in any way to purchase, use, or review this pack. The views and opinions expressed are solely my own.

The “Bess” Bonnet


The Farming Daughter: The "Bess" Bonnet ( https://thefarmingdaughter.com/2016/01/13/the-bess-bonnet/)

And still of a winter’s night, they say, when the wind is in the trees,

When the moon is a ghostly galleon tossed upon cloudy seas,   

When the road is a ribbon of moonlight over the purple moor,   

A highwayman comes riding—

         Riding—riding—

A highwayman comes riding, up to the old inn-door.

Over the cobbles he clatters and clangs in the dark inn-yard.

He taps with his whip on the shutters, but all is locked and barred.   

He whistles a tune to the window, and who should be waiting there   

But the landlord’s black-eyed daughter,

         Bess, the landlord’s daughter,

Plaiting a dark red love-knot into her long black hair.

-“The Highwayman” by Alfred Noyes

The nasty weather we’re having right now has at least one benefit I suppose…inspiring me to finally blog about my new quilted winter hood!

I began this project the beginning of October. I’d actually owned the pattern unused since last year, but I pulled it out hoping to whip up a hood before the Cedar Creek reenactment. Of course that didn’t happen, but c’est le vie. (Actually it’s more my procrastinating self’s fault, when will I learn?)

I used Anna Worden Bauersmith’s Quilted Winter Hood pattern. The pattern offers a regular size and one with a deeper brim. I went with the regular size. I’ve made various winter hoods before, but I love that this particular pattern is less utilitarian in shape and is instead modeled more like the fashion bonnets of the era. The pattern was clear and easy to understand, though I would have liked a few marks or notches to help match the pieces when sewing the bavolet to the crown.

The lining is a cream colored cotton sateen and the batting is wool. For the main fabric I chose a simple and versatile black silk taffeta. I made the bow and ties also from silk taffeta I had on hand. They are just tacked on to the bonnet, so if I get tired of them they can be easily switched out for a fresh color. I discovered the poem The Highwayman by Alfred Noyes while working on this project and didn’t realize until later that I unconsciously made the bonnet from two colors specifically mentioned in the poem!

“Bess, the landlord’s daughter,

Plaiting a dark red love-knot into her long black hair.”

For that reason I’ve decided to name it my “Bess” bonnet. 🙂

Using some suggestions offered in the pattern and inspiration from Sarah Jane’s version, I came up with a quilting design that pleased me. I quilted it all by hand. At first I didn’t plan on the final row of shell pattern closest to the brim, but I’m glad I added it because I think it balances out the design nicely.

The Farming Daughter: The "Bess" Bonnet ( https://thefarmingdaughter.com/2016/01/13/the-bess-bonnet/) 2
Quilted crown design

The Farming Daughter: The "Bess" Bonnet ( https://thefarmingdaughter.com/2016/01/13/the-bess-bonnet/) 3
Koda “helping” me quilt

The Farming Daughter: The "Bess" Bonnet ( https://thefarmingdaughter.com/2016/01/13/the-bess-bonnet/) 4
Hand quilting

The crown is stiffened with wire to help it hold its shape. The pattern recommends “20 gauge millinery wire”. I honestly have no idea how big that is, so I just used some jewelry wire we had laying around and it seems to work fine.

The Farming Daughter: The "Bess" Bonnet ( https://thefarmingdaughter.com/2016/01/13/the-bess-bonnet/) 5
A look inside the hood: all of the raw seams joining the pieces together are finished with a whip stitch

The Farming Daughter: The "Bess" Bonnet ( https://thefarmingdaughter.com/2016/01/13/the-bess-bonnet/) 7
Back view

I would definitely recommend this pattern to someone looking for a more refined, fashionable winter hood. The research and clear instructions are wonderful. I was a little leery of the price…$20. I thought that was a little much for a pattern that is basically only three pieces…but then again, the price didn’t dissuade me from purchasing the pattern when I did! I think the printing costs contributed to the higher price and I see that Anna now offers the same pattern as a digital download for the very reasonable price of $7 (you can buy it here). These hoods use so little material now that I have the investment of the pattern already I can see myself making quite a few in different colors!

The Farming Daughter: The "Bess" Bonnet ( https://thefarmingdaughter.com/2016/01/13/the-bess-bonnet/) 6
The three main pieces: crown, tip, and bavolet

Overall, I’m very pleased with my finished Bess bonnet. I think proper accessories can really help to complete the believable “look” of the period…and they’re great conversation starters with the public! I also love how this piece can easily be incorporated in a wide range of personas. Of course the shape and materials are fine enough for a more well to do impression, but it requires so little fabric that an enterprising farm wife could have easily afforded the small bit of silk required to make herself a nice winter Sunday piece of headwear.

I’ll be excited for the next cold weather event so I can try out my new winter hood! Have you ever sewn a winter hood? Do you have a favorite piece of historic clothing or gear that transcends several social classes?

-Michaela “The Farming Daughter”

Just the basics:

Fabric: black silk taffeta from Originals by Kay, cream cotton sateen from Joann’s, red silk taffeta from Fabrics Universe on Etsy, wool batting

Notions: black cotton quilting thread, 2′ wire

Pattern: “Quilted Winter Hood” by Anna Worden Bauersmith (the pattern is for sale here in her shop)

Year: 1860s

How historically accurate is it?: Fairly good I’d say. The pattern is modeled after designs of original bonnets and all of the construction methods are period correct. The lining should possibly be a printed cotton or a polished cotton instead of cotton sateen. I’m quite pleased with the finished results though!

Hours to complete: 10 maybe?

First worn: Just to try on when finished

Cost: $5 (black silk taffeta), $3 (cotton sateen), $1.5 (red silk taffeta), $2( wool batting) $1 (notions-thread & wire), $20 (pattern)

Total cost (with pattern): $32.50

Total cost (without pattern): $12.50